


How to set up email in Thunderbird for Mac
This guide takes you step-by-step through the process of setting up a new email account in Thunderbird for Mac.
If the Mail account is already set up, but giving errors – then refer to our Troubleshooting guide.
Replace example.com with your domain name
Check your password
- First, check your password by browsing to Webmail and trying to log in. If you aren’t able to log in, then you have the incorrect password. Forgotten passwords can be reset in konsoleH – you will need to get your domain or web administrator to update it for you if you don’t have konsoleH access.
♦ Automatic Account configuration
A new email account set up with Thunderbird is quick and easy using Automatic Account configuration.
However, reasons to rather use Manual Configuration are:
- if you prefer POP, as this automatic configuration defaults to IMAP
- if this is a new hosting account and domain propagation has not completed
View account settings
- Launch Mozilla Thunderbird
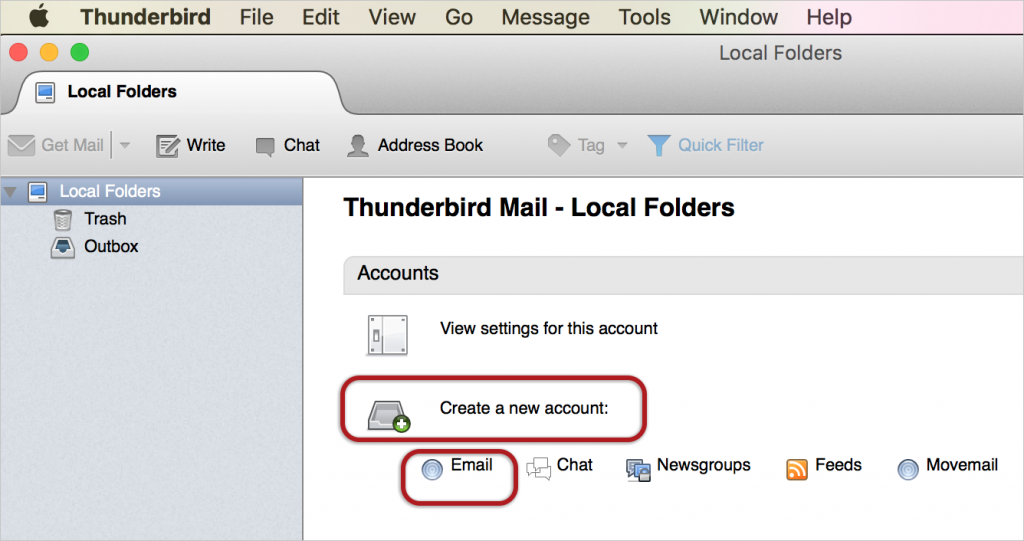
- If this Accounts screen opens, choose to Create a new account > Email – proceed to step 4

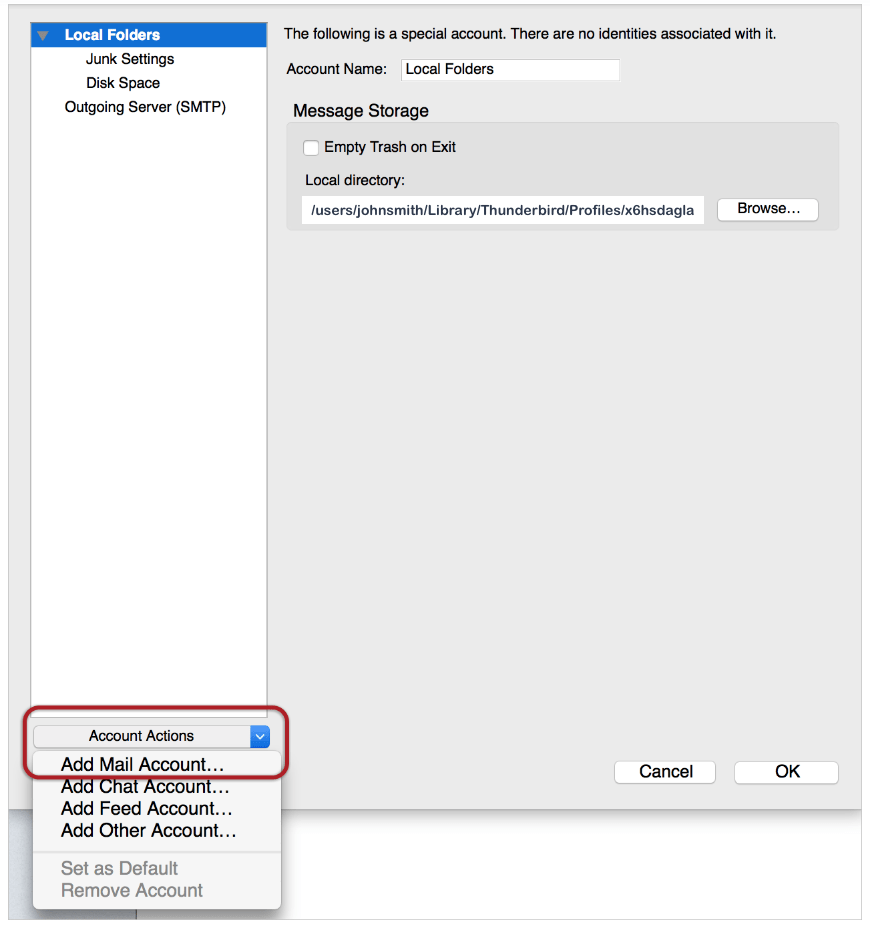
Or alternatively, on the toolbar at the top, select Tools and then Account SettingsAdd mail account
- Click the Account Actions drop-down and then select Add Mail Account from the list

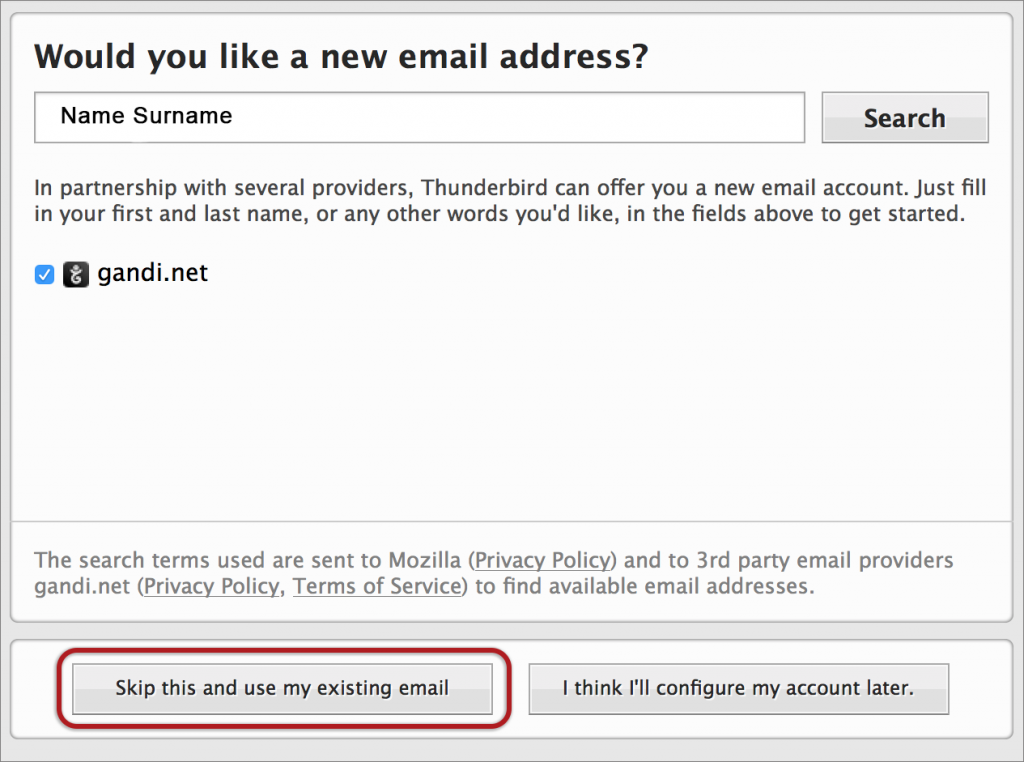
- Ignore this option and choose to Skip this and use my existing email?

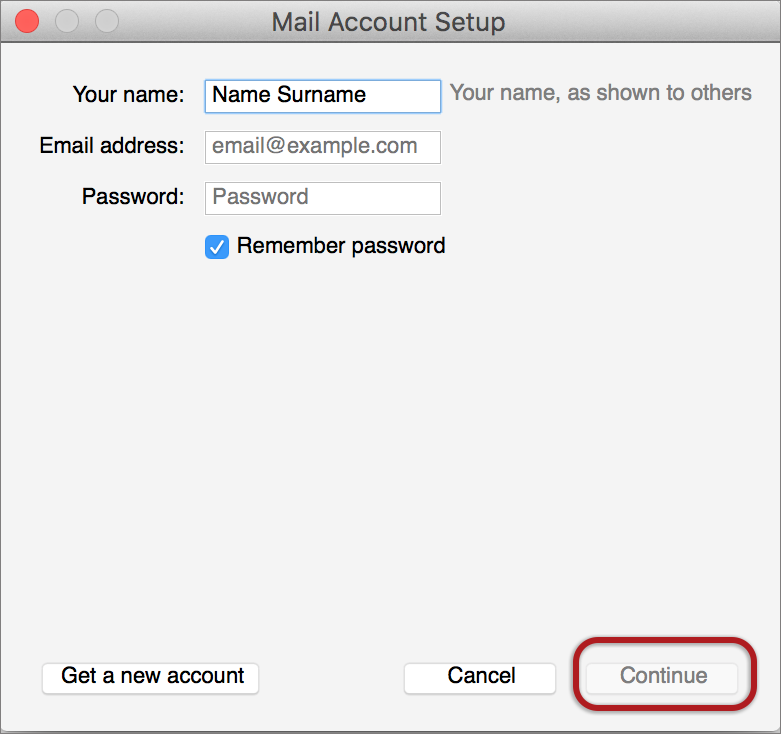
Enter your details
- Enter the following details:
- Name (which will appear the “From” field in your emails)
- Email address
- Password (stipulated when you created your email account in konsoleH – (forgotten passwords can be reset in konsoleH)
- Then click Continue

Edit settings
- Thunderbird will now automatically check your email settings.
- This screen confirms your chosen settings > Done

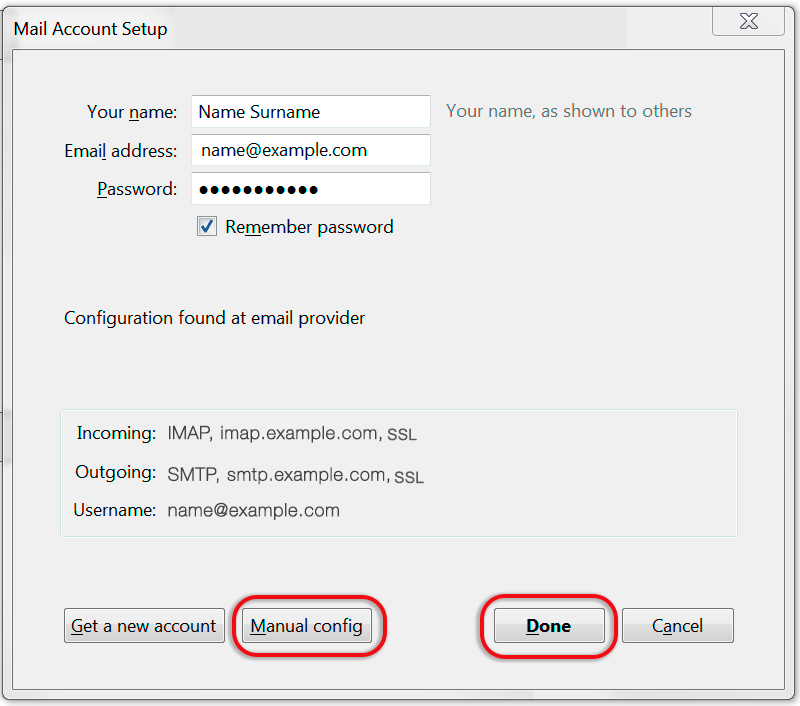
If your settings are not found, click the Manual config button and continue:
♦ Manual configuration
Follow the Automatic configuration above, and then choose Manual config.
Ensure that your settings are correct as below (these are the default settings – replacing with your own name and domain).
- If you don’t know your password, reset it via konsoleH.
- Server hostname:
- Incoming can be POP or IMAP
- is mail. followed by the domain name e.g. mail.example.com*
- Port is 993 (or 995 for POP)
- SSL is set to SSL/TLS
- Authentication is Normal password
- Outgoing SMTP is smtp. followed by the domain name e.g. smtp.example.com*
- Port is 465
- SSL is set to SSL/TLS
- Authentication is Normal password
- User Name is the full email address for both Incoming and Outgoing
- For new hosting accounts, temporarily use the IP address instead of the Incoming & Outgoing mail servers.
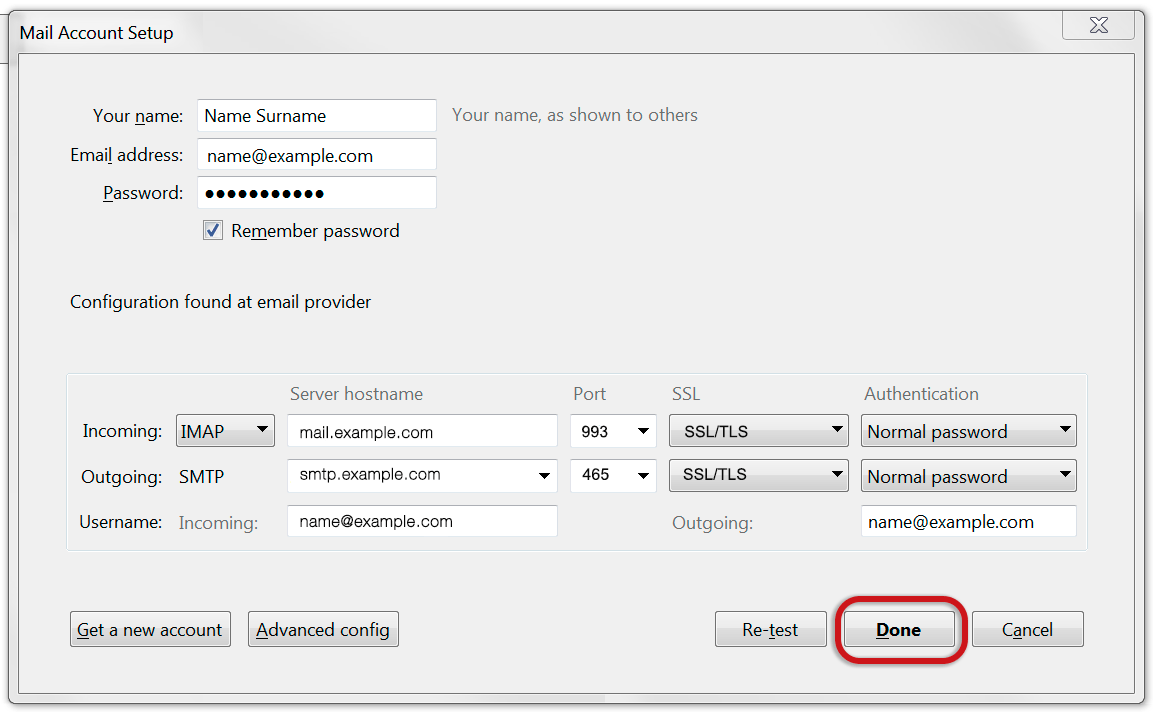
Choose Re-test > Done.
* Note: In isolated cases mail.domain (e.g. mail.example.com) and smtp.domain won’t work. In these cases you will need to use the server name instead e.g. www34.cpt1.host-h.net. Find my server name.
Email still not working? Read our Troubleshooting Guide.

