How to set up email in Outlook 2000
This guide takes you step-by-step through the process of setting up a new email account in Outlook 2000.
Note: This guide defaults to IMAP and No SSL.
Replace your-domain with your domain name
Add a new email account
1. Launch Microsoft Outlook 2000
2. Select Tools from the top menu bar and then Accounts
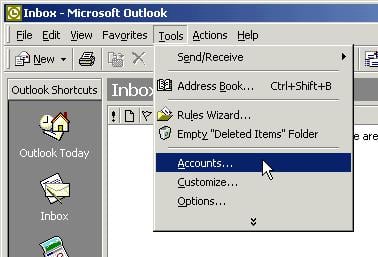
New account
3. Click Add, and then click Mail to open the Internet Connection Wizard.
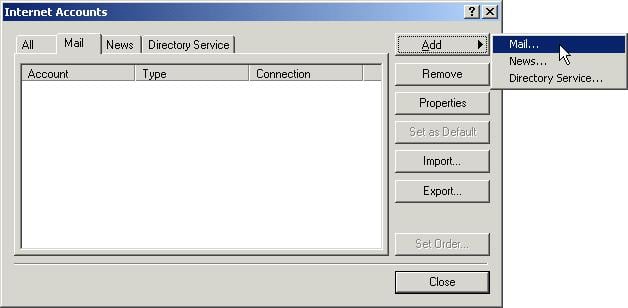
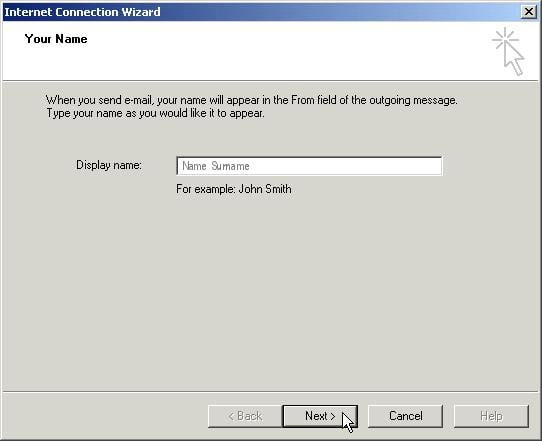
Enter your name
4. Enter your Name (which will appear in the “From” field in your emails), then click Next
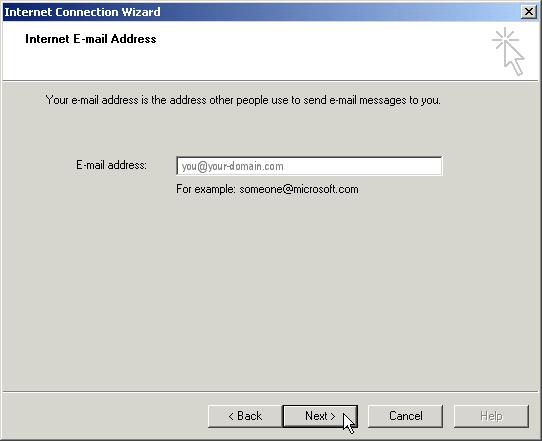
Enter your email address
5. Enter your Email address, then click Next
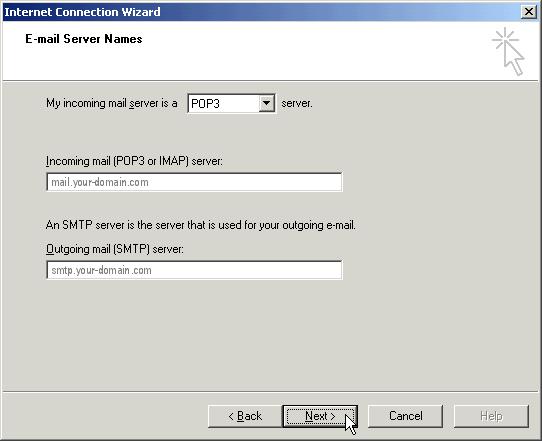
Server settings
6. Enter the name of the Incoming mail server i.e. pop.your-domain.com
7. Enter the name of the Outgoing mailer server i.e. smtp.your-domain.com
8. Click Next
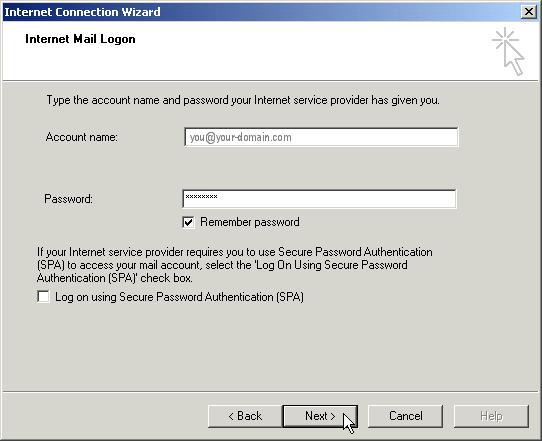
Internet Mail Logon
9. Enter your Account name (your full email address e.g. you@your-domain.com) and the password specified when the mailbox was created in your control panel, then click Next
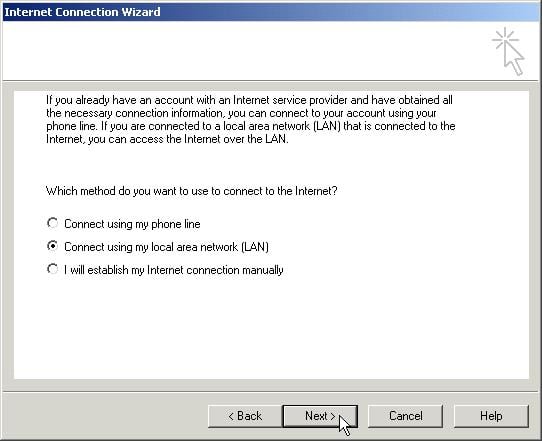
Select your Internet connection
10. Select the appropriate Internet connection for your system, then click Next
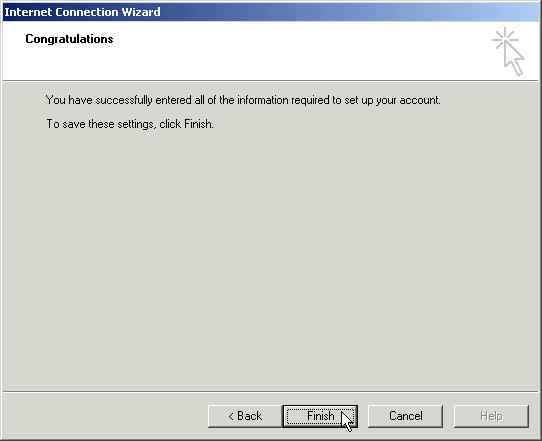
Setup complete
11. Follow the relevant instructions for your connection (if any), click Next and then click Finish
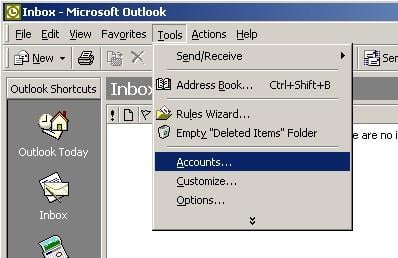
Check your account
12. Outlook will now build the Outlook Toolbar, and then open up your Inbox. Go to the Tools menu, click Accounts.
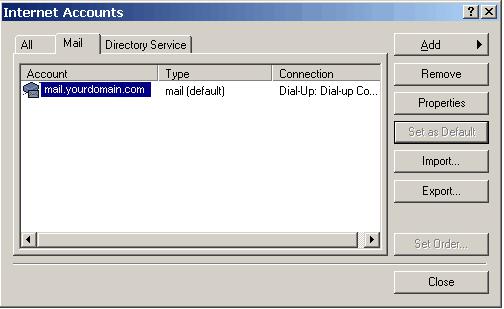
Select the relevant account
13. Click on the Mail tab at the top. You should see your new account listed here. Select it and click Properties.
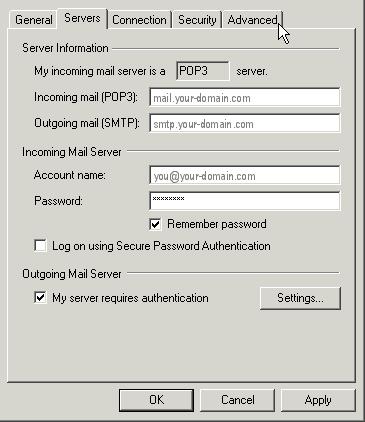
Outgoing Server Settings
14. Click on the Servers tab at the top.
15. Ensure that the My server requires authentication checkbox (underneath Outgoing Mail Server) is ticked.
16. Click on the Settings button to the right.
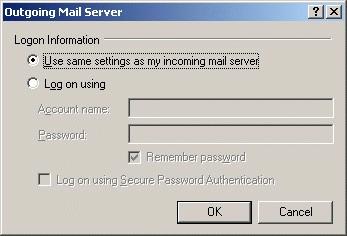
Outgoing Mail Server
17. Ensure that Use same settings as my incoming mail server is selected, then click OK
18. Click on the Advanced tab
Advanced Settings
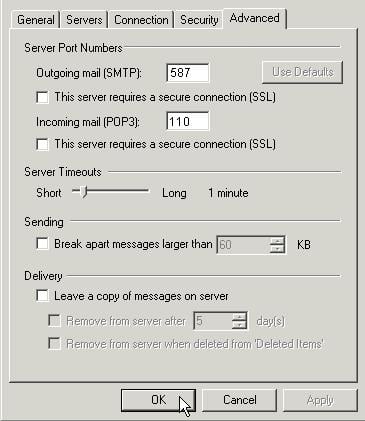
19. Ensure that your settings look like the settings shown in this screenshot. In particular, check that:
*The Incoming server (POP) port is set to the default (110)
*The Outgoing server (SMTP) port is set to 587
20. Click OK, then Next and Finish.
You should now be set up to send and receive email.
