How to set up email on iPhone & iPad

This step-by-step guide takes you through the process of setting up a new email account on your iPhone or iPad.
If the Mail account is already set up, but giving errors – then refer to our Troubleshooting guide.
♦ Replace example.com with your domain name.
First, check your password
Check your password by browsing to Webmail and trying to log in. If you aren’t able to log in, then you have the incorrect password. Forgotten passwords can be reset in the control panel – you will need to get your domain or web administrator to update it for you if you don’t have control panel access.
Add Mail Account
-
Select the settings icon on your home screen
![]()
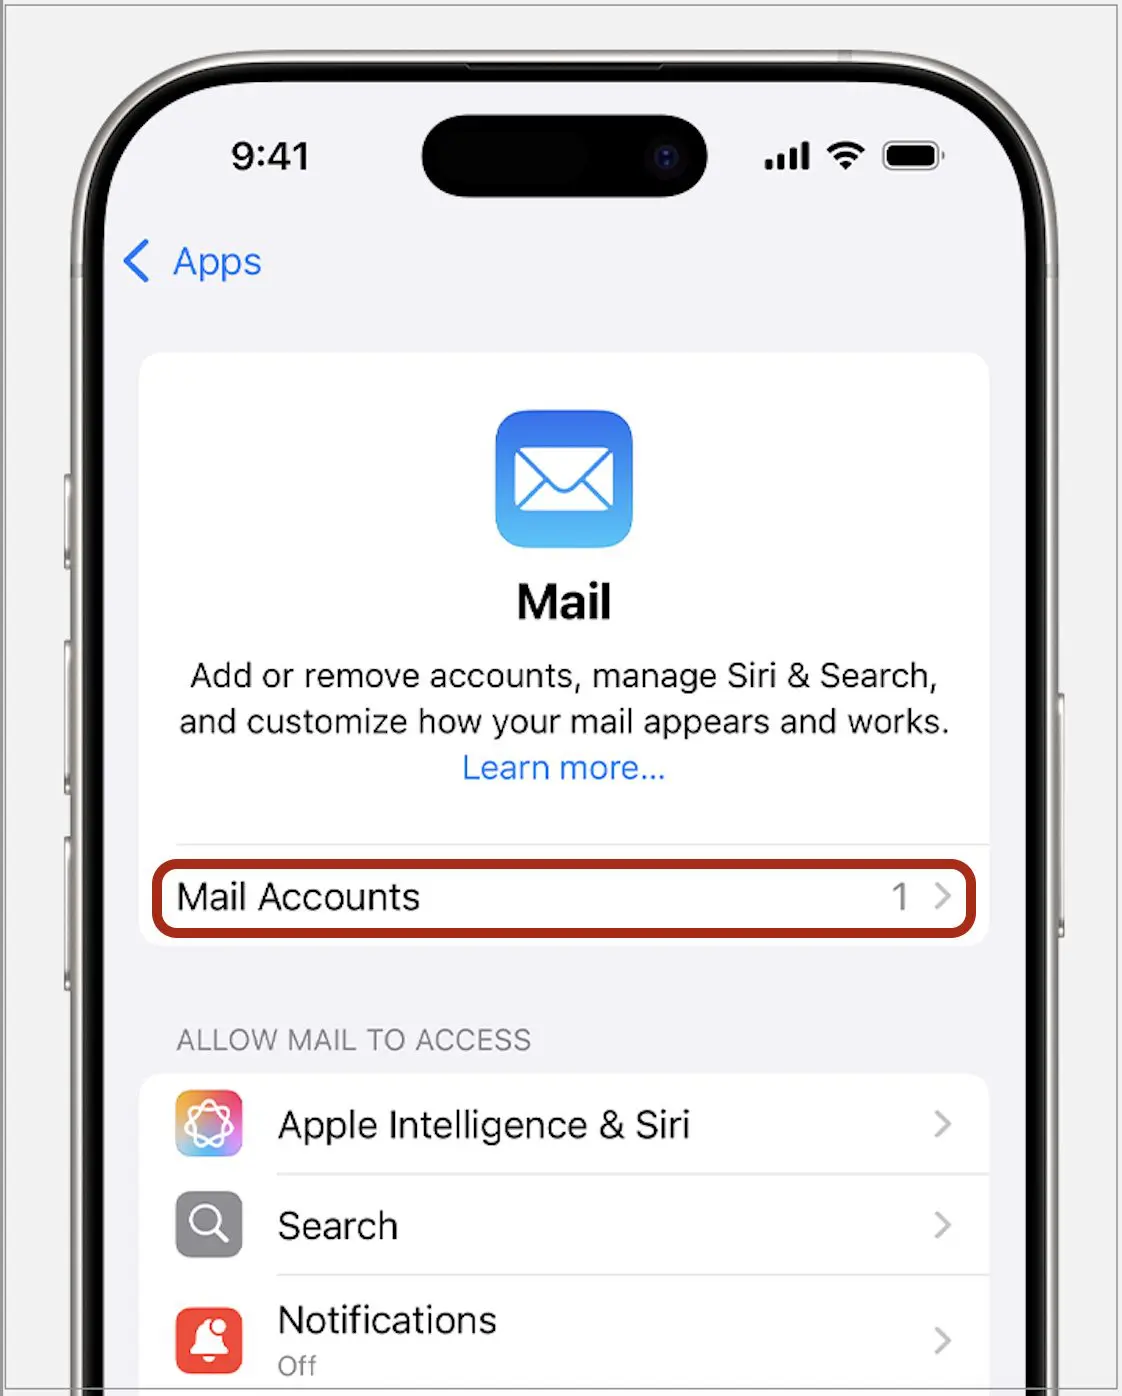
- Select Apps > Mail and then tap on Mail Accounts
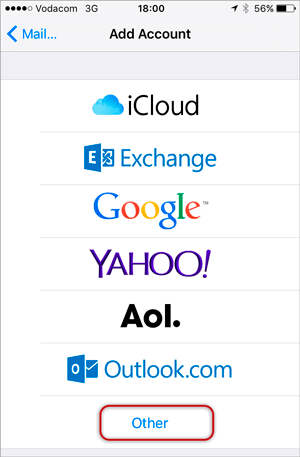
- Select Add Account
- Select Other from the menu
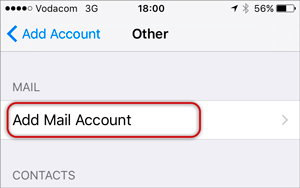
- Select Add Mail Account
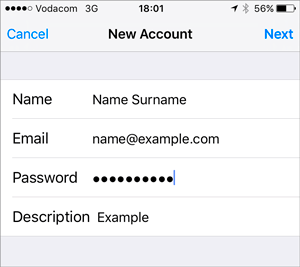
- Enter your account information: Enter your Name, Email & Password > Next
- Forgotten passwords can be reset in your control panel
-
Configure Incoming and Outgoing Servers:
- Select IMAP (default) or POP according to your needs (See POP vs IMAP)
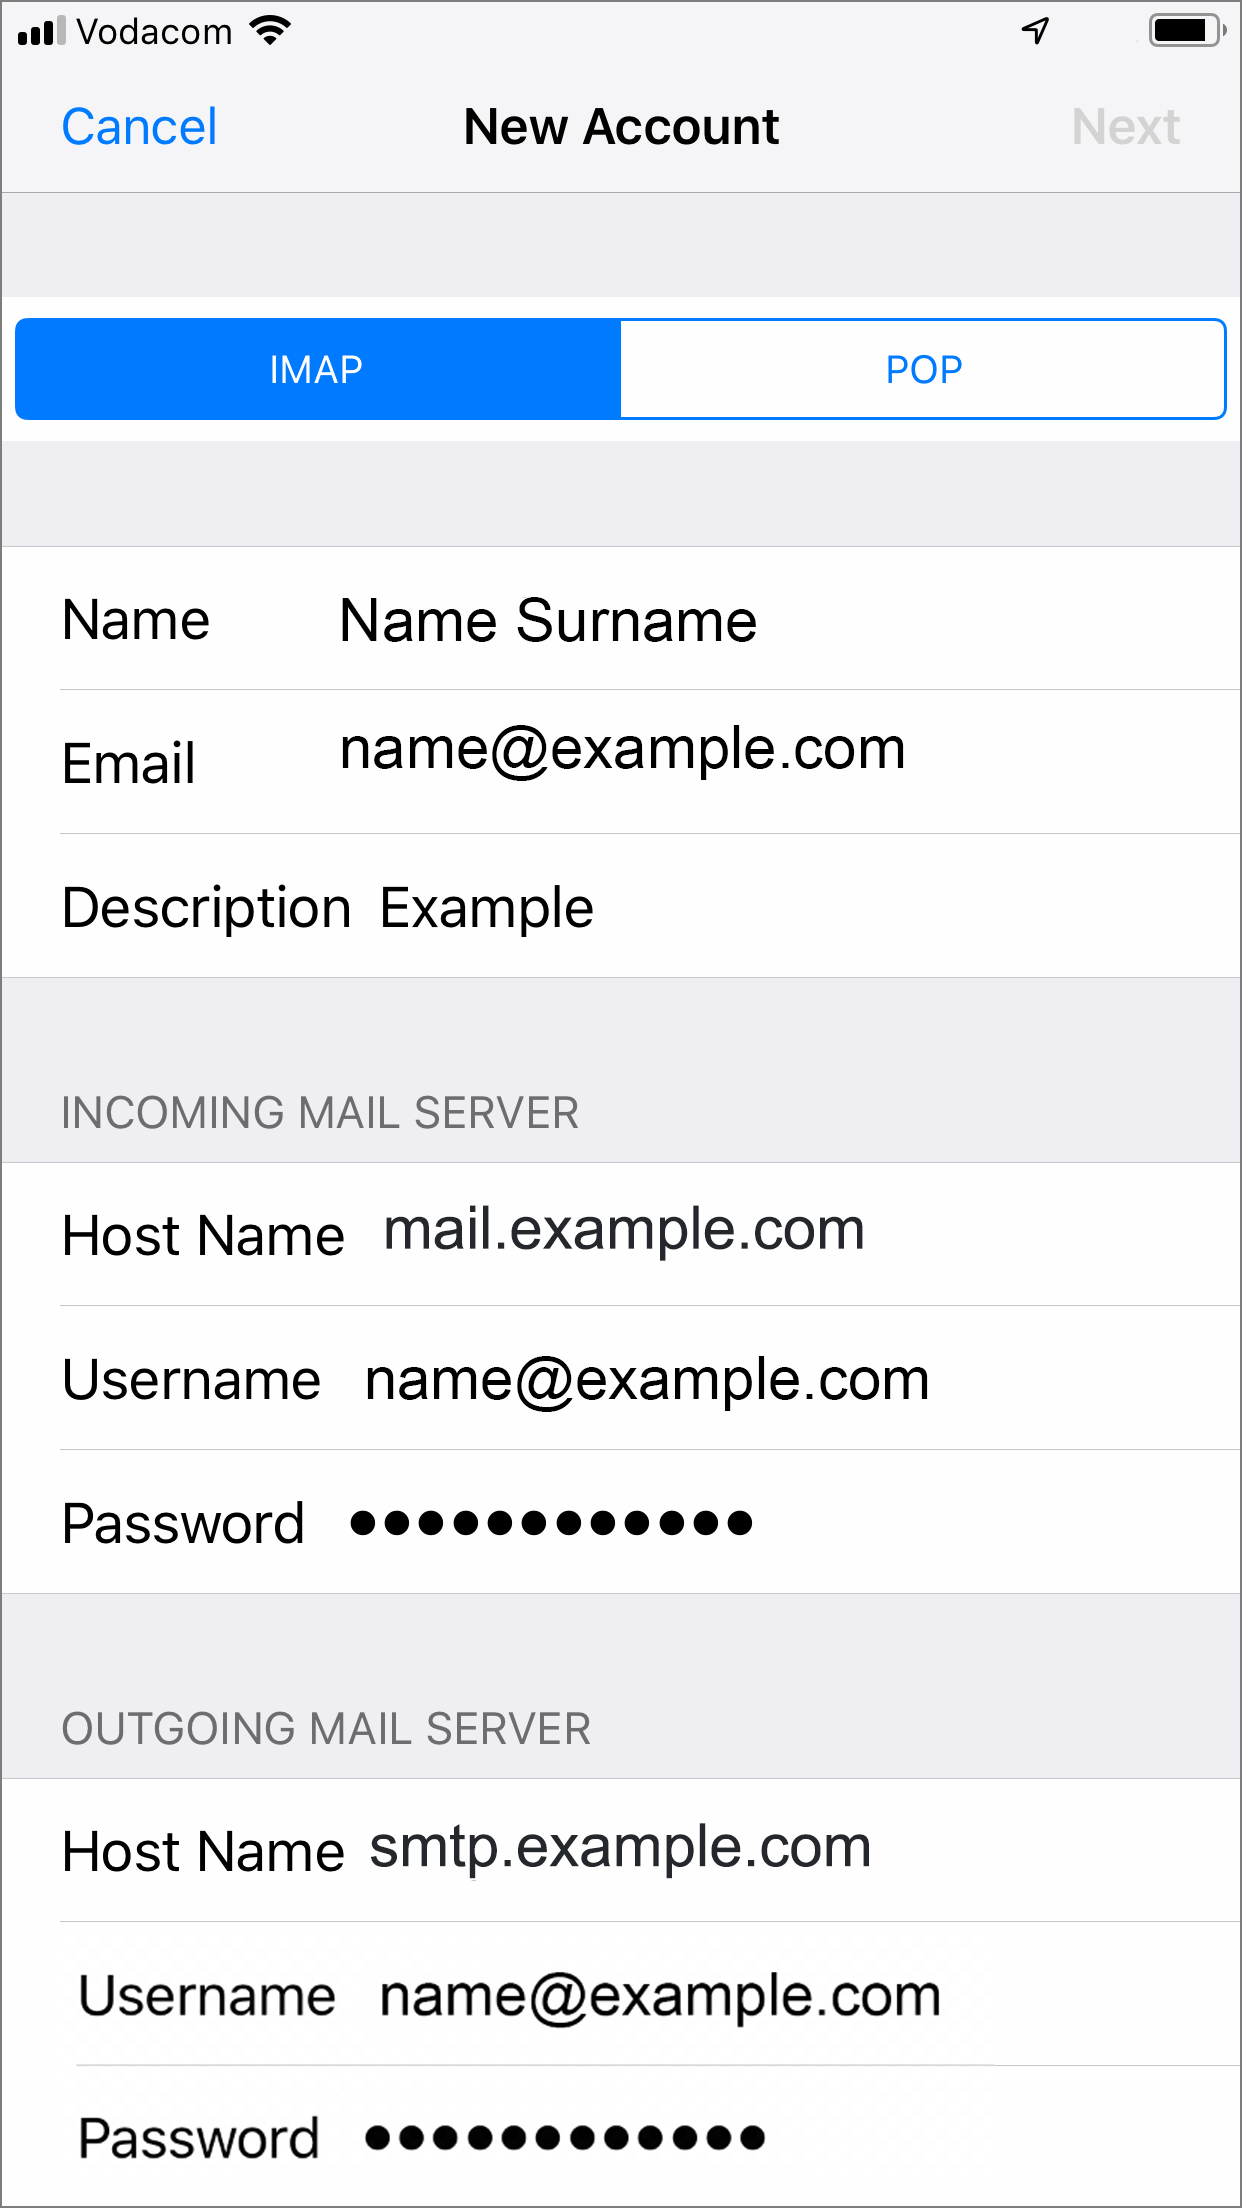
- Scroll down to Incoming Mail Server and enter all the relevant details, then do the same for Outgoing Mail Server, as in the screen below and then select Next.
- Host Name:
- Incoming mail server: has mail. before the domain name e.g. mail.example.com*
- Outgoing mail server: has smtp. before the domain name e.g. smtp.example.com*
- Ensure that Username is the full email address
- Username & Password are the same for both Incoming & Outgoing servers
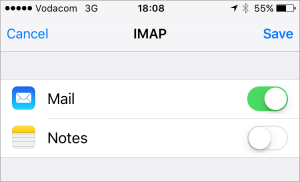
- Click Save
Note: In isolated cases mail.domain (e.g. mail.example.com) and smtp.domain won’t work. In these cases you will need to use the server name instead e.g. www34.cpt1.host-h.net. Find my server name.
-
Congratulations! You have now successfully configured your email account on your iPhone.
Email still not working? Read our Troubleshooting Guide


