How to manage your email disk usage
Actively managing your email disk usage will help you avoid unnecessary over-usage costs. You can easily view a summary of your email disk usage and also delete unwanted emails via your xneelo Control Panel.
-
View the email disk usage of a Web Hosting package
-
1
-
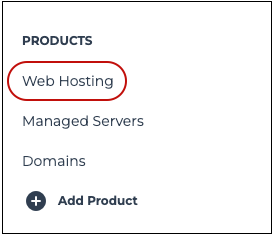
2Select a Product (e.g. Web Hosting) from the side menu.

-
3Select the domain name.
-
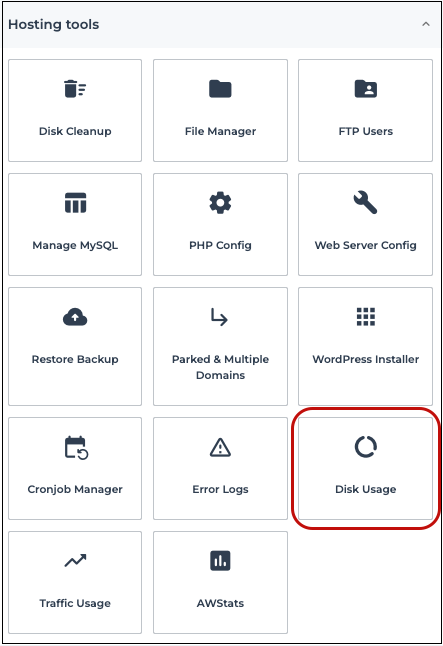
4Under Hosting tools, select Disk Usage.
-
5A visual summary of your disk usage will be displayed at the top of the page.
-
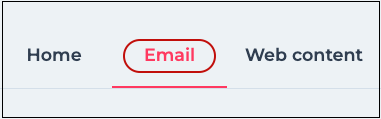
6Select the Email tab.

-
7Your mailboxes will be sorted from largest to smallest by default. Select the down arrow (⌄) to the left of the specific mailbox.

-
8You will see a summary of the mailbox: the different folder(s) and the size of each of them
-
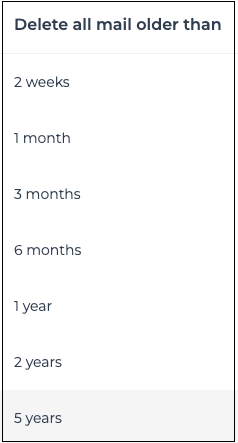
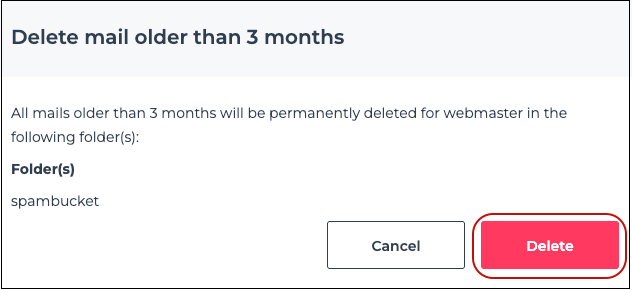
9Click on the Delete icon to the right of the folder you want to review. You will be provided with time periods in a drop-down menu. If you would like to delete mail, select the applicable time period.


-
10Confirm the change by clicking Delete from the confirmation pop-up.

-

-
View the email disk usage of all packages on a Managed Server
-
1
-
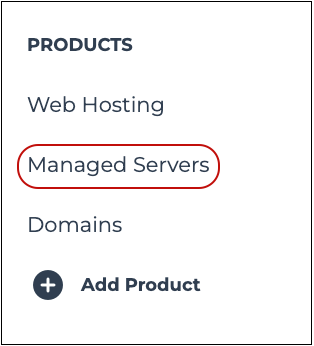
2Under Products in the side menu, select Managed Servers.

-
3Select the server.
-
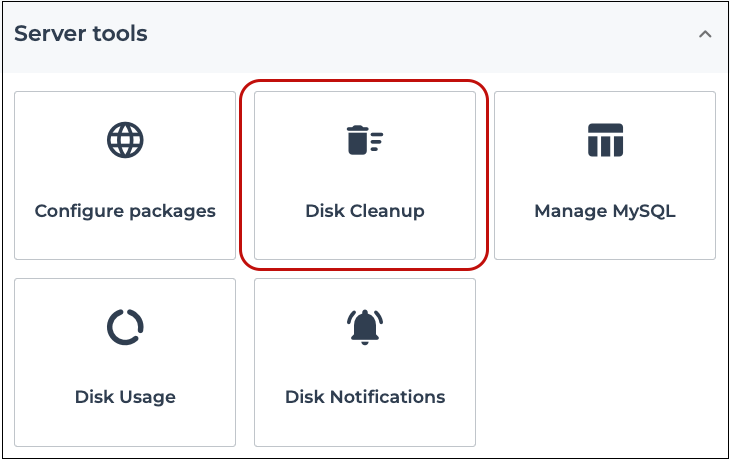
4Under Server tools, click on Disk Cleanup.

-
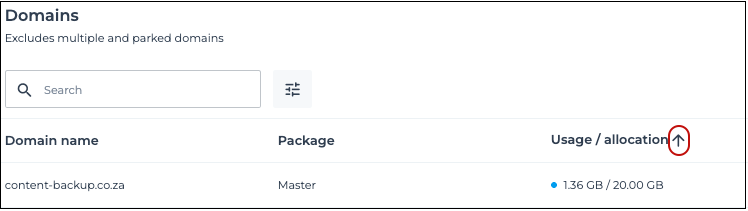
5A list of domains on your server will appear. You can filter the usage from smallest to largest by selecting the arrow alongside Usage/ allocation.

-
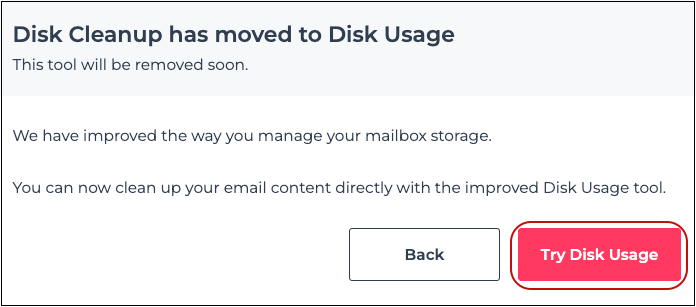
6Select the domain name and click on Try Disk Usage on the pop-up window.

-
7A visual summary of your disk usage will be displayed at the top of the page. Select the Email tab.

-
8You will see a summary of the mailbox: the different folder(s) and the size of each of them.
-
9Click on the Delete icon to the right of the folder you want to review. You will be provided with time periods in a drop-down menu. If you would like to delete mail, select the applicable time period.


-
10Confirm the change by clicking Delete from the confirmation pop-up.
-