Set up email in macOS Sierra, Mojave, Catalina, Big Sur, Monterey or Ventura
Follow this tutorial to manually set up your mail account. If your account is already set up but isn’t working, try our troubleshooting guide.
Replace example.com with your domain name.
To add a new email account
- Launch Mail
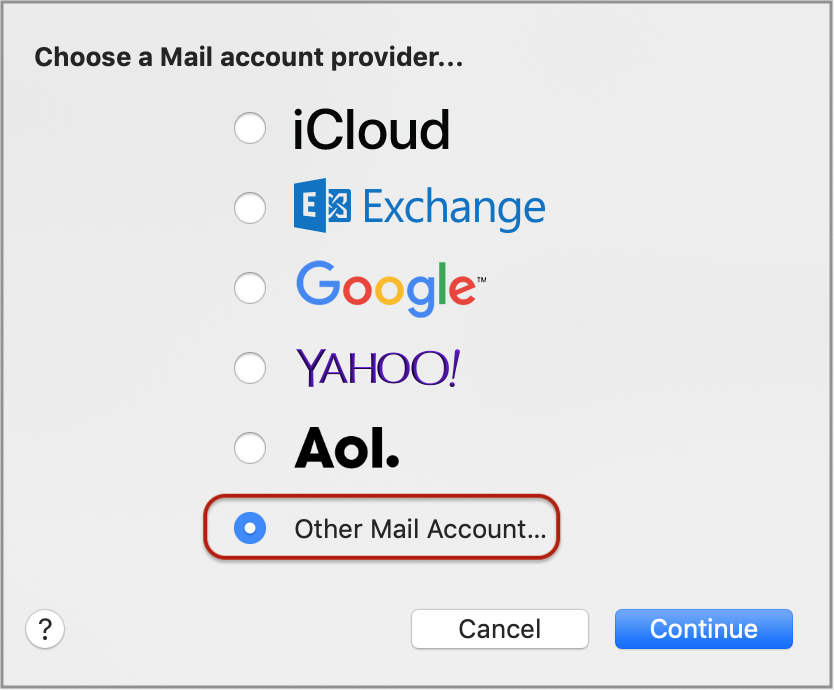
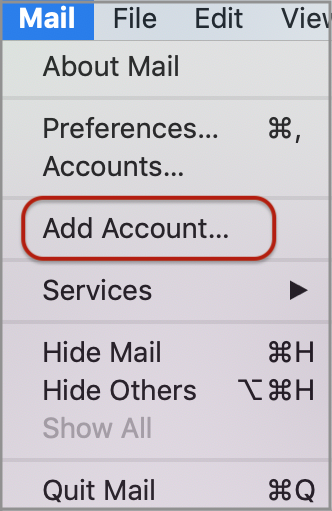
- From the toolbar at the top, select Mail and then Add Account…
- Select Other Mail Account…

- Select Continue
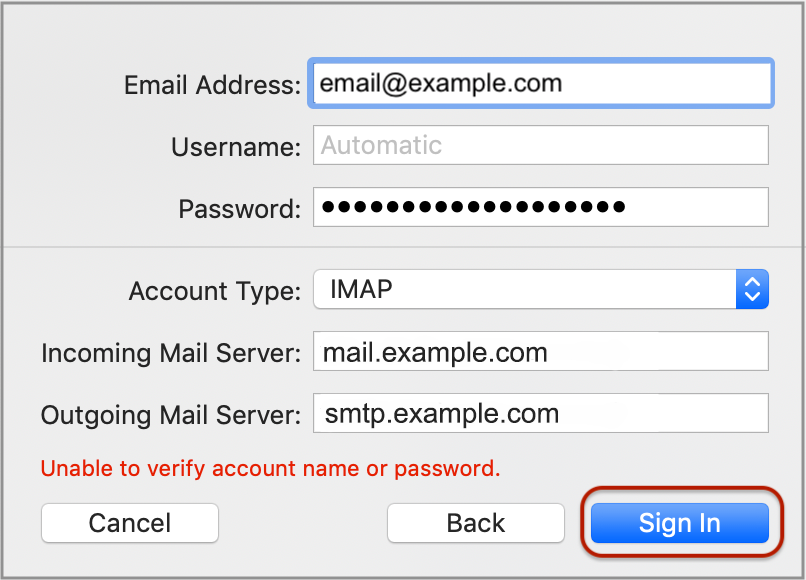
- Enter the required details and select Sign In
- Name – the name that will appear in the ‘From’ field when you send emails
- Email Address – your full email address
- Password – your email password (forgotten passwords cannot be restored but they can be reset in the control panel)

- A message will appear that reads ‘Unable to verify account name or password’. This is because Mail has not used your full email address as the Username. Your email address and password may already be populated. Complete the remaining fields as follows:
- Username– your full email address
- Account Type – from the dropdown, select POP or IMAP (this guide defaults to IMAP)
- Incoming Mail Server – has mail. before the domain name e.g. mail.example.com*
- Outgoing Mail Server – has smtp. before the domain name e.g. smtp.example.com*

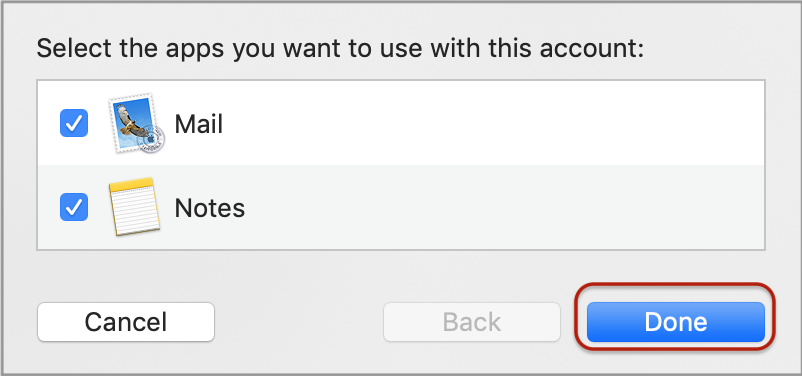
- Select Sign In. A pop up will appear that reads ‘Select the apps you want to use with this account:’. Select Done

* Note: In isolated cases mail.domain (e.g. mail.example.com) and smtp.domain won’t work. In these cases you will need to use the server name instead e.g. www34.cpt1.host-h.net. Find my server name.
Your new email account is now set up. You will see your new account in the list with any other mail accounts.
Email not working? Read our Troubleshooting Guide


