Loading ISO via Remote Control
This article will guide you on how to load your operation system (OS) using the Remote Management Interface on your Self-Managed Server. The process uses the Java-based console, as the HTML5 console currently does not support ISO loading without a Supermicro’s Data Center Management Suite (SFT-DCMS-SINGLE) license.
Please note that attempting to mount virtual ISO media via HTML5 console will result in the following error: This function requires SFT-DCMS-SINGLE license!)
Servers with a private Remote Management Interface IP can activate the RMI Tunnel.
This can be performed using either a Windows or Linux local computer. Mac is not recommended as there are various Java incompatibilities.
-
Supermicro (old web interface)
-
1Browse to the IP address of your Remote Management interface

-
2Select Remote Control > Console Redirection (Click Cancel if a Java Runtime error pops up – this can be ignored)

-
3Click the Launch Console button, which will either launch the console directly or download a file named launch.jnlp which can be opened

-
4In the new iKVM window, select Virtual Media > Virtual Storage

-
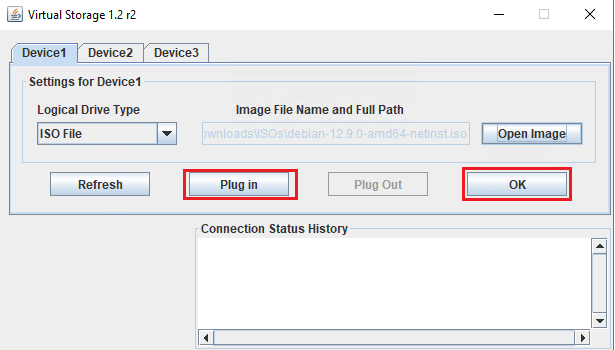
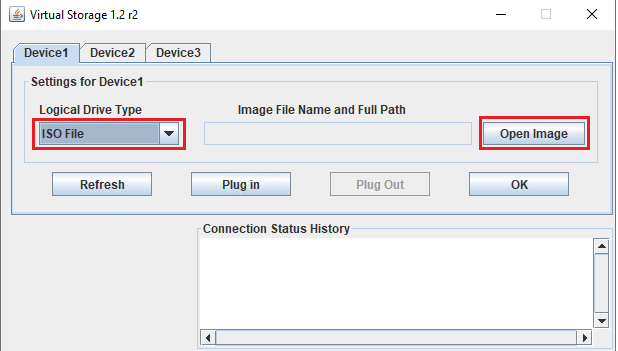
5Set the Logical Drive Type to ISO File from the dropdown menu

-
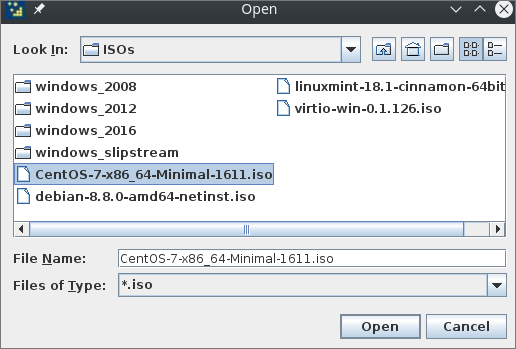
6Click Open Image and select the relevant .iso file from your local drive, click Open

-
7Click Plug in to mount the .iso file as a virtual CDROM, then OK

-
8Reboot the system using the RMI by either soft reboot from the OS, or select Power Control > Set Power Reset
-
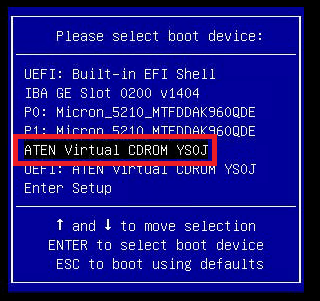
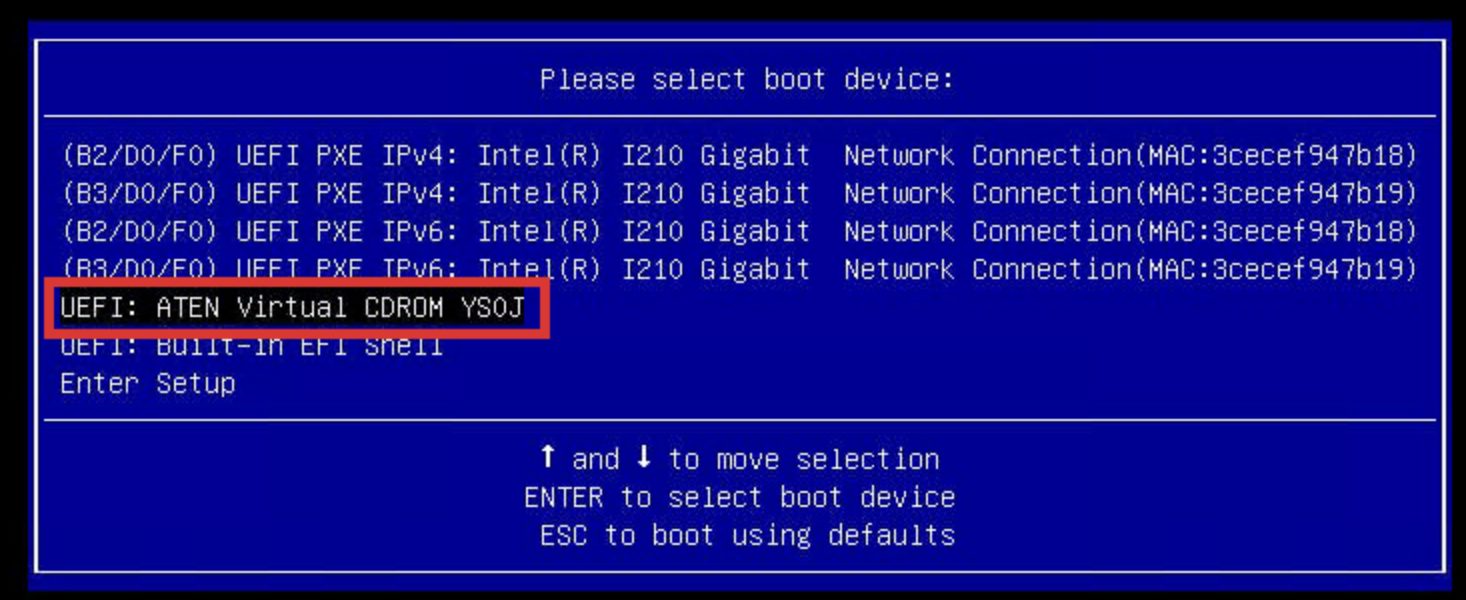
9Press <F11> to open a boot menu
-
10Navigate to the appropriate Virtual CDROM option using the arrow keys, press Enter

-
11You will now boot into your mounted ISO
-


-
Supermicro (new web interface)
The following products offer the new web interface:
- TruServ 2334
- TruServ Plus 2336
- TruServ Commerce 4310
-
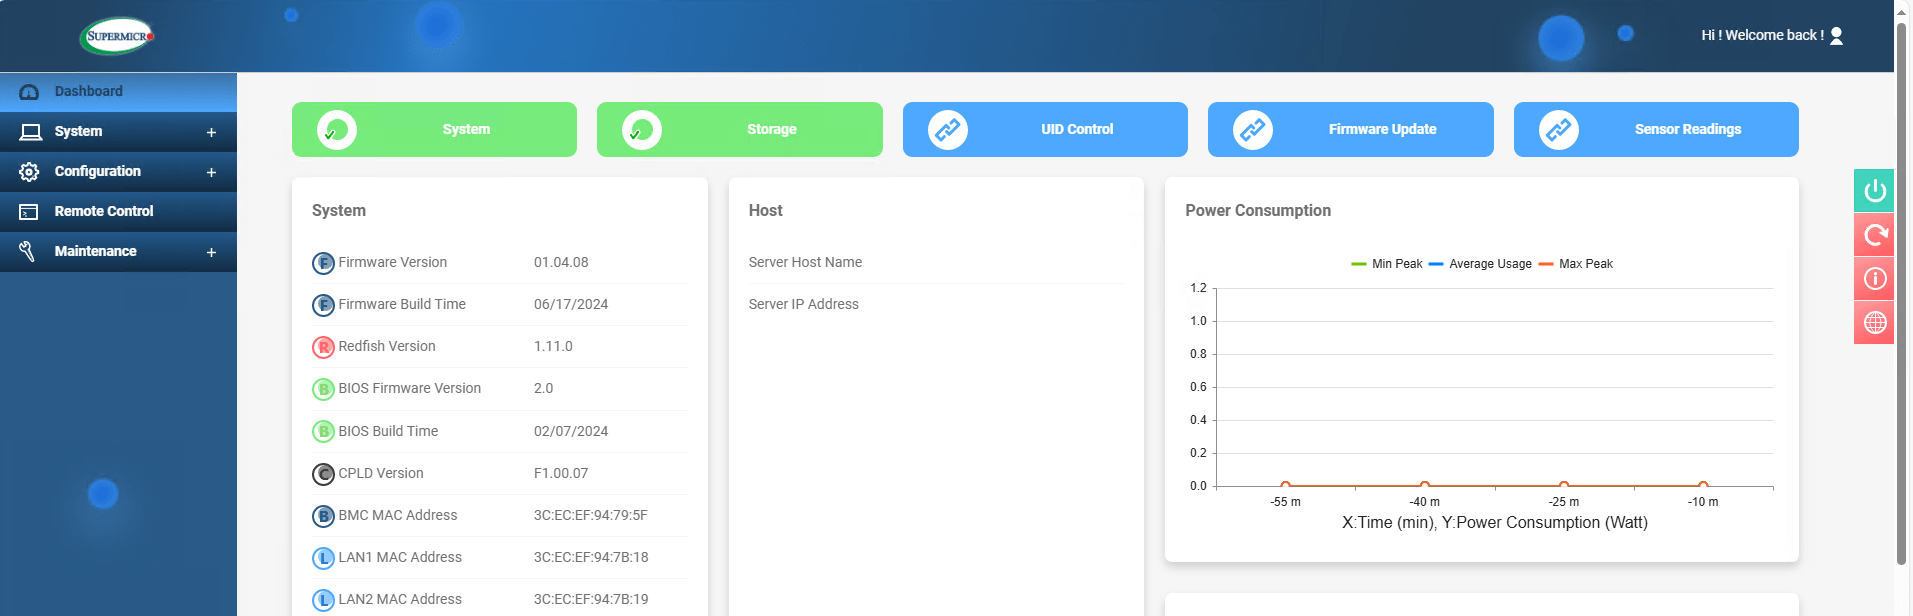
1Browse to the IP address of your Remote Management interface

-
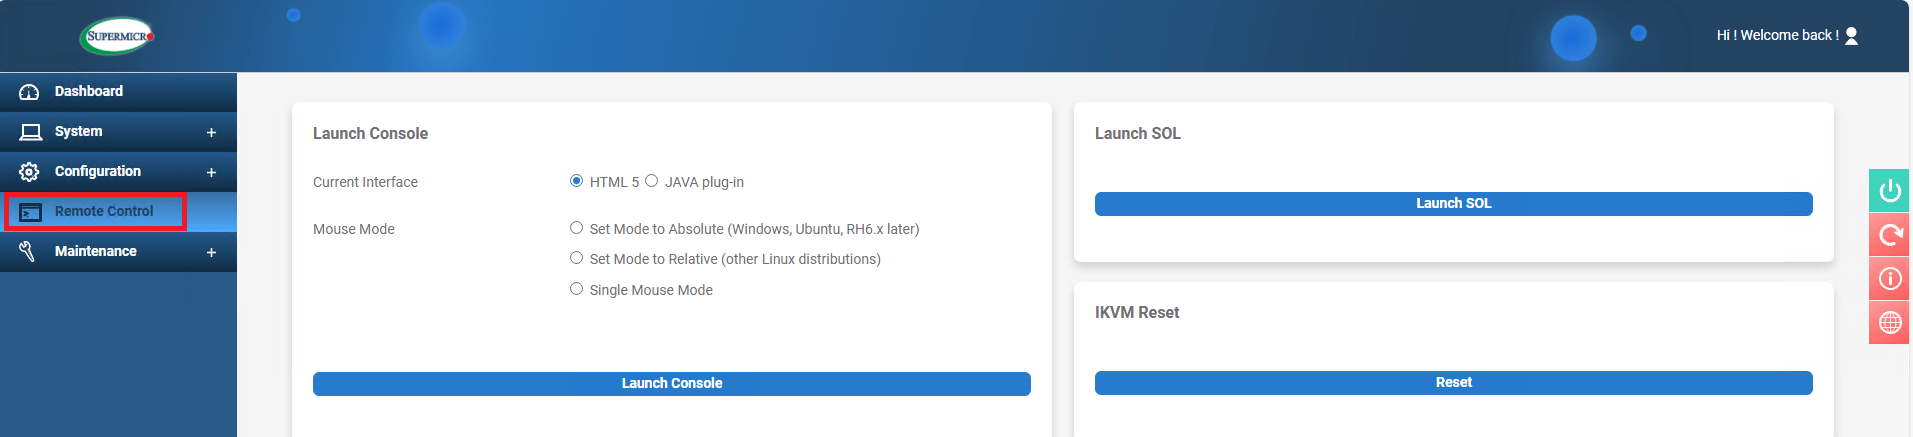
2Select Remote Control
-
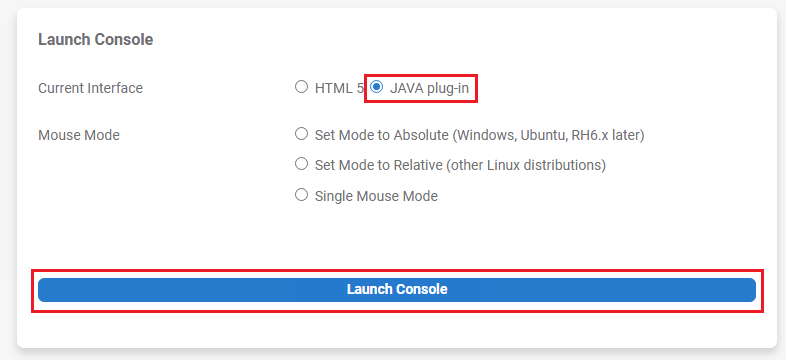
3Under the Launch Console selection, ensure that the Java plug-in option is selected

-
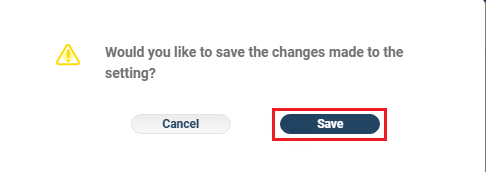
4Save Current Interface as Java plugin-in and confirm selection (this can be changed back to HTML5 option at a later stage again)

-
5Click the Launch Console button, which will either launch the console directly or download a file named launch.jnlp which can be opened

-
6In the new iKVM window, select Virtual Media > Virtual Storage
-
7Set the Logical Drive Type to ISO File from the dropdown menu
-
8Click Open Image and select the relevant .iso file from your local drive, click Open
-
9Click Plug in to mount the .iso file as a virtual CDROM, then OK
-
10Reboot the system using the RMI by either soft reboot from the OS or select Power Control > Set Power Reset
-
11Press <F11> to open the boot menu
-
12Navigate to the appropriate Virtual CDROM option using the arrow keys, press Enter

-
13You will now boot into your mounted ISO


-
Intel RMM
-
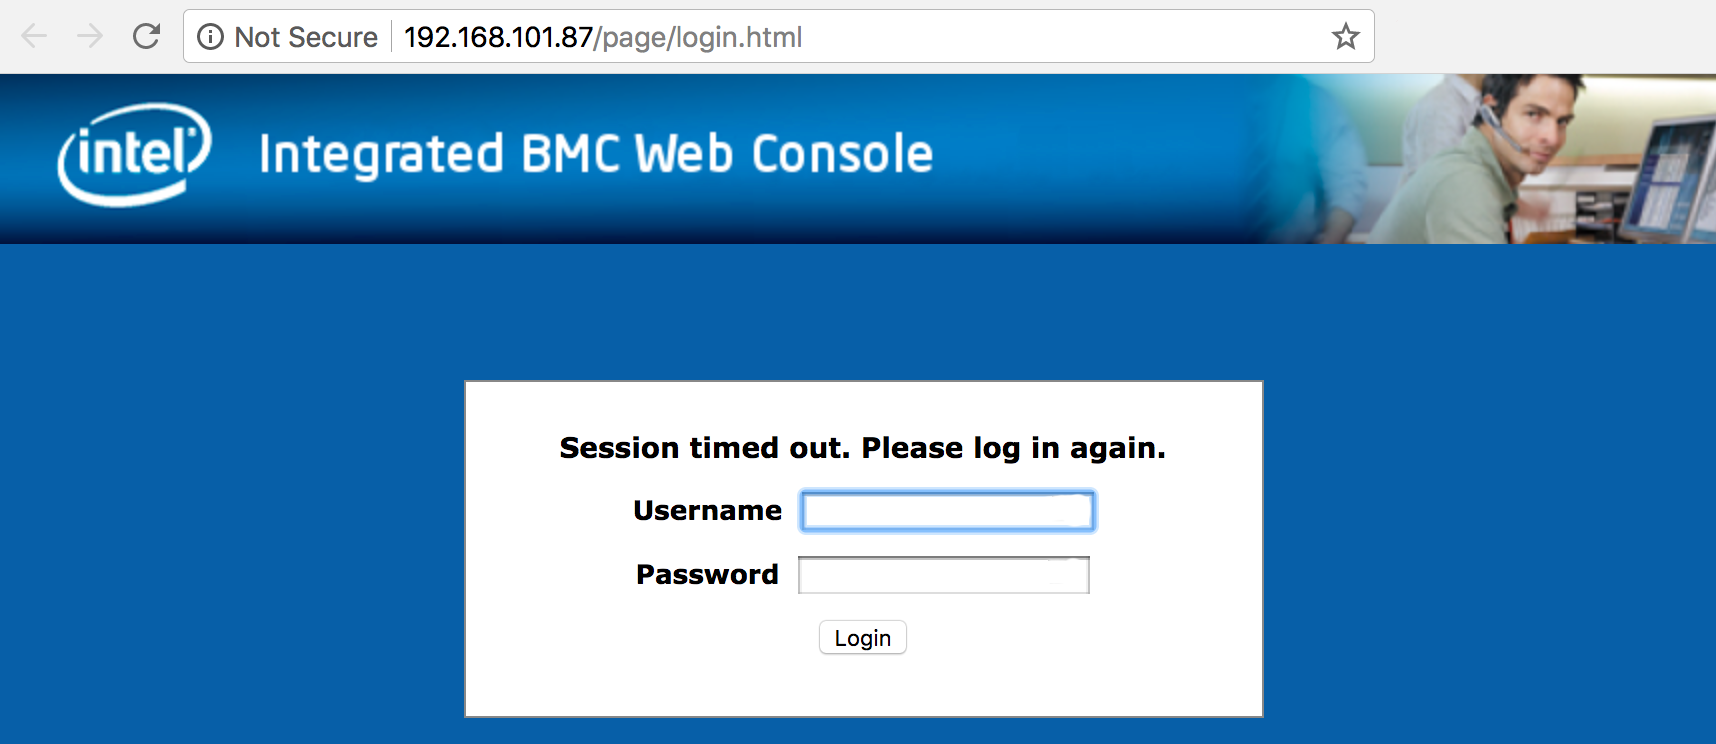
1Browse to the RMM IP address and log in

-
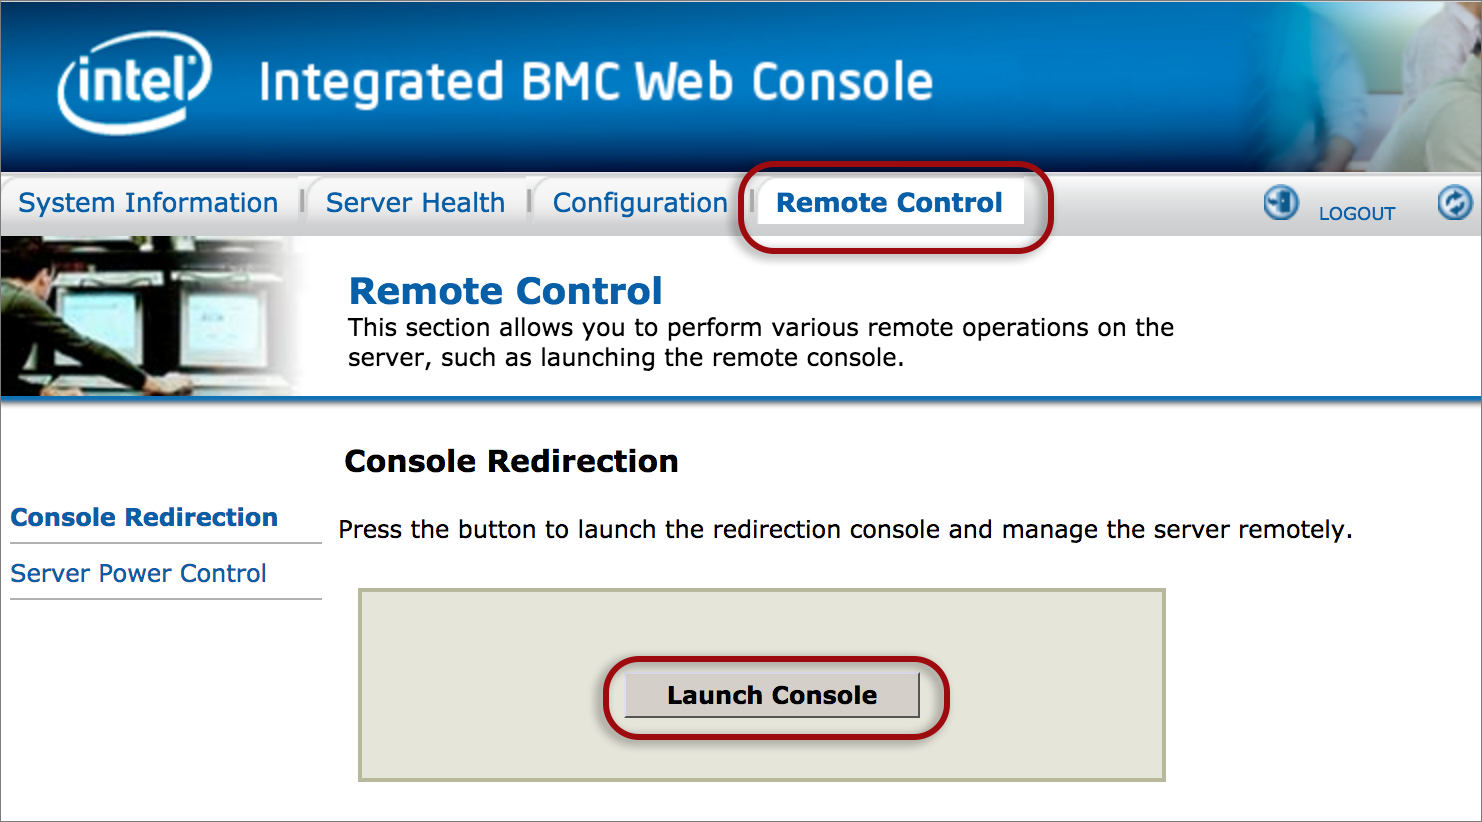
2Select Remote Control in the top menu. Note: If you have pop-ups blocked, you may need to unblock them.
-
3Press the Launch Console button

-
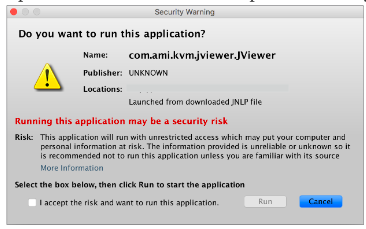
4Open the downloaded file. Accept the Security Warning by ticking the checkbox and select Run

-
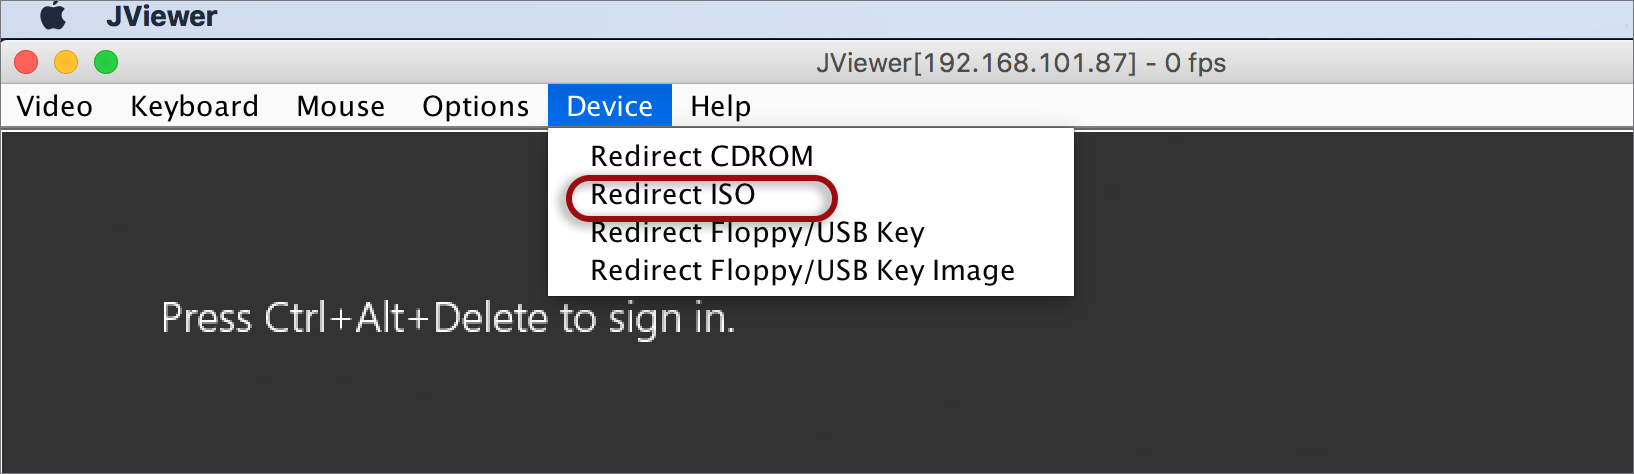
5In the remote console window, click on Device

-
6Select Redirect ISO option

-
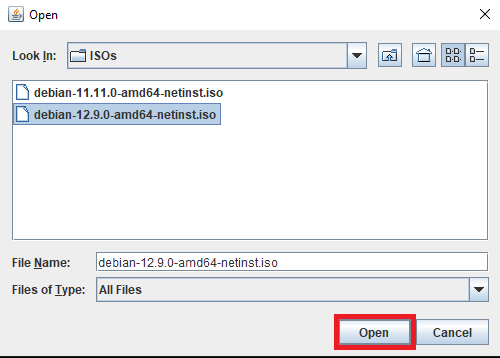
7Select the ISO file you want to mount from your local drive and Open

-
8Reboot the server by selecting Reset Server > Perform Action

-
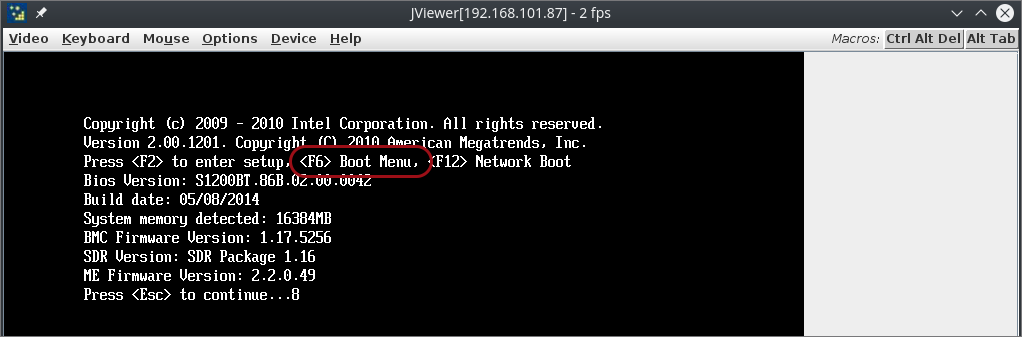
9Press <F6> Boot menu on the keyboard

-
10Select the Virtual CDROM option and it will boot the ISO mounted
-