


How to point your domain to Lovable via the xneelo Control Panel
Lovable is an AI tool that helps you build websites and apps. You can describe what you need and it handles the design, data and publishing for you. It’s a fast way to create professional software without needing to write code.
Note: Lovable is an external service and is not an xneelo product. Our support team cannot assist with technical issues or account management related to the Lovable platform.
If your domain name is registered with xneelo, you can connect your domain with Lovable using the steps below:
-
How to point your website to Lovable
-
1
-
2Select a Product from the side menu:
- If you have web hosting package, select Web Hosting or Managed Servers
- If you only have domains, select Domains
-
3Select or search for the domain name.
-
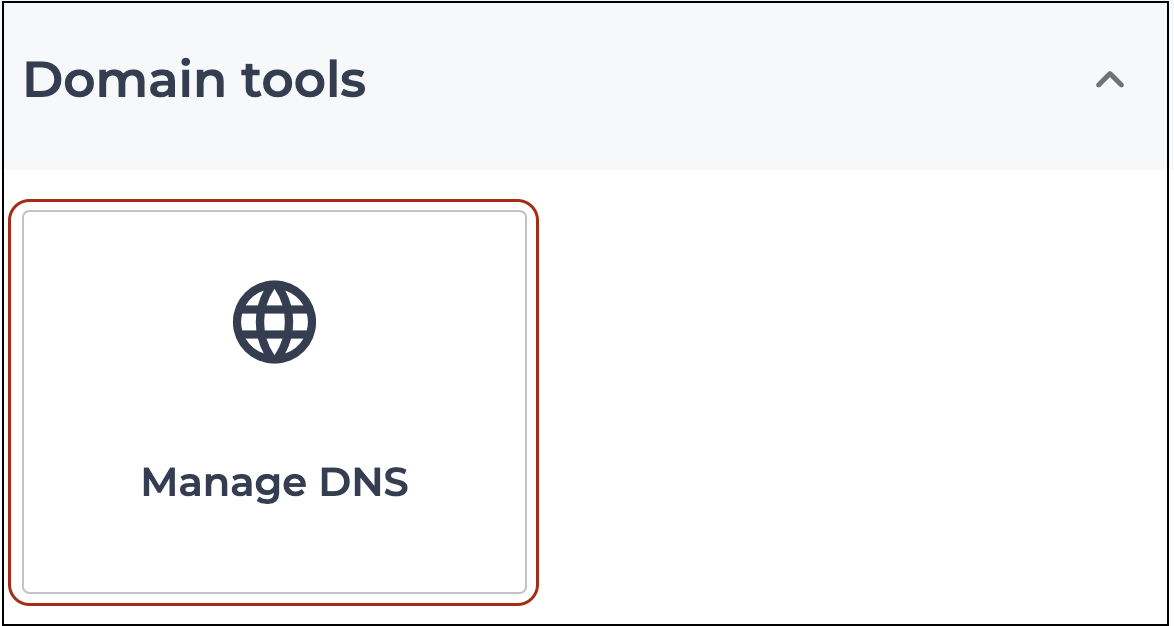
4Select the Manage DNS tool:
- For domains with web hosting: Navigate to Domain tools, select Manage DNS
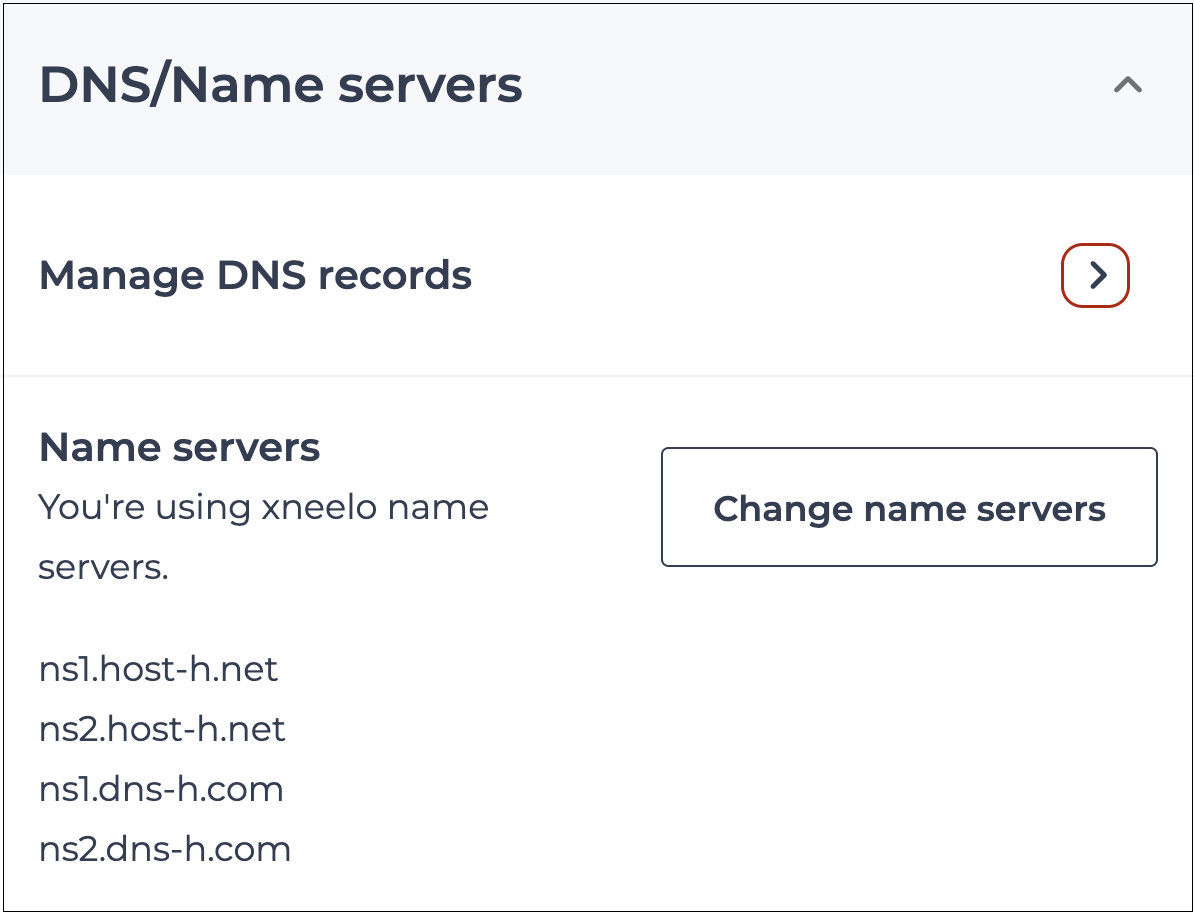
- For domains without a hosting package: Navigate to DNS/Name Servers and click the arrow next to Manage DNS Records
-
5Change the relevant A-record as follows:
Hostname @:
- Under A record type, find @ and click on the 3 dots in line with the relevant record – select Edit to update the Points to field.
- Change the Destination IP to the IP address provided by Lovable by clicking in that field and editing.
- Click Save.
-
6Click + Add record.
- Select the TXT record type from the Type drop-down list.
- Complete the relevant fields and click Add.
- If multiple TXT records are to be added, select the ‘Remain on this page after adding record’ box.
- A success message will appear on the top of your screen.
-
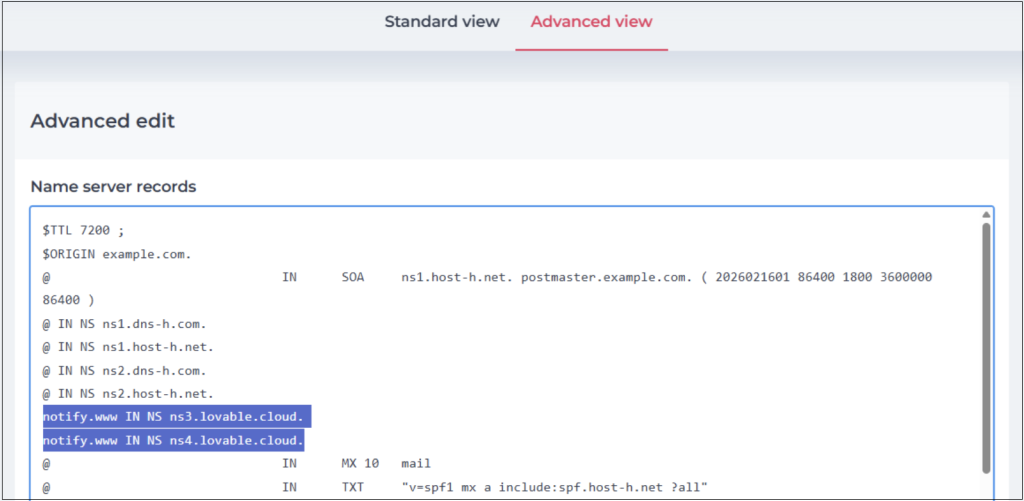
7Click on the Advanced view.
-
8Add Lovable’s name server records underneath xneelo’s name server records (do not remove the below xneelo name server records):
@ IN NS ns1.dns-h.com.
@ IN NS ns1.host-h.net.
@ IN NS ns2.dns-h.com.
@ IN NS ns2.host-h.net.
Example of how the records can be added:
notify.www IN NS ns3.lovable.cloud.
notify.www IN NS ns4.lovable.cloud.
Note: Replace ns3.lovable.cloud, ns4.lovable.cloud with the records that Loveable provided to you.
-
9Click Save changes.
-
-
How to point your subdomain to Lovable
Note: Subdomain DNS records for Lovable are required to be added to the primary domain directly.
E.g. The records for blog.example.com would need to be added as an addition to example.com’s existing records.
-
1
-
2Select a Product from the side menu:
- If you have web hosting package, select Web Hosting or Managed Servers
- If you only have domains, select Domains
-
3Select or search for the domain name.
-
4Select the Manage DNS tool:
- For domains with web hosting: Navigate to Domain Tools and select Manage DNS
- For domains without a hosting package: Navigate to DNS/Name Servers and click the arrow next to Manage DNS Records
-
-
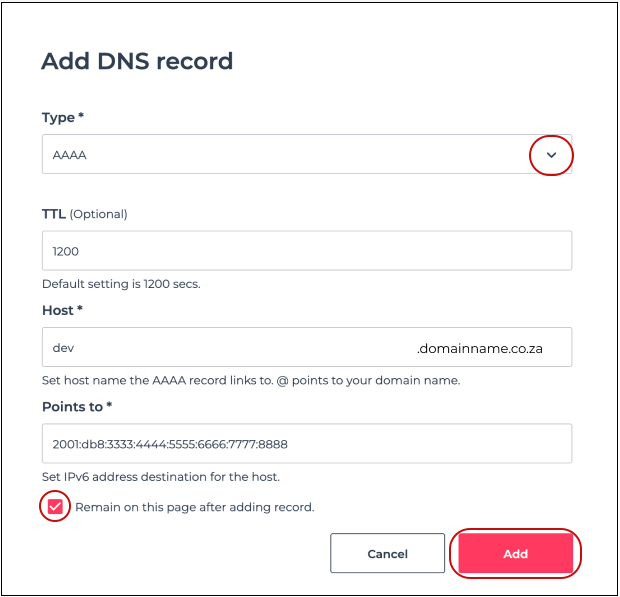
5Click + Add record.
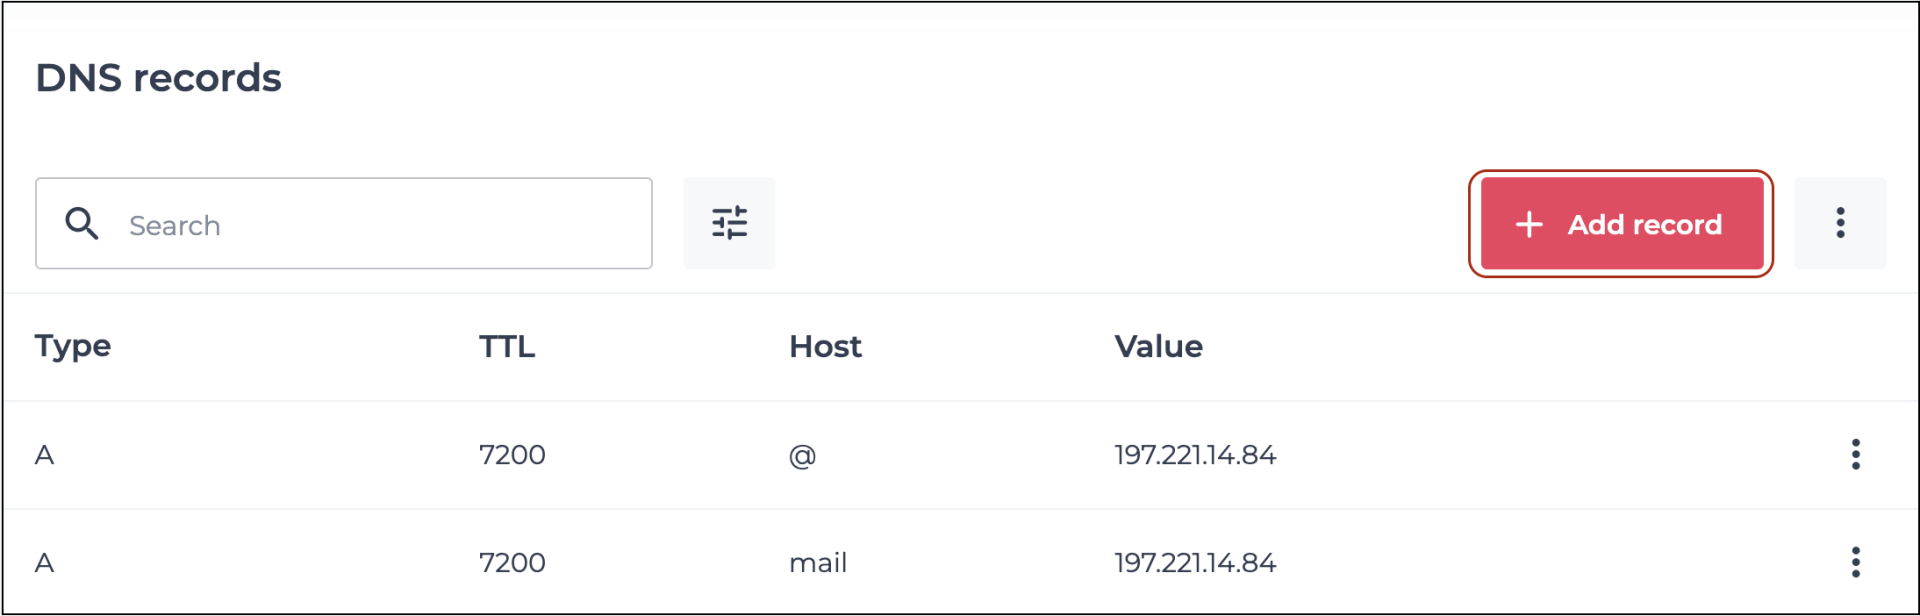
- Select the record type that you would like to add from the Type drop-down list.
- Complete the relevant fields and click Add.
- If multiple records are to be added, select the ‘Remain on this page after adding record’ box.
-
6A success message will appear at the top of your screen.
-

