


How to use the WordPress Customizer
The Customizer is included in every WordPress theme to allow you to customise aspects of that theme, which are then implemented sitewide.
Themes vary in the functionality offered within the customizer; most free themes offer only very basic customisation, while paid-for and premium themes often add great functionality. For example, some basic free themes don’t provide an option to choose your own fonts, while premium themes usually have extensive font or typography options. This is worth considering when selecting a theme.
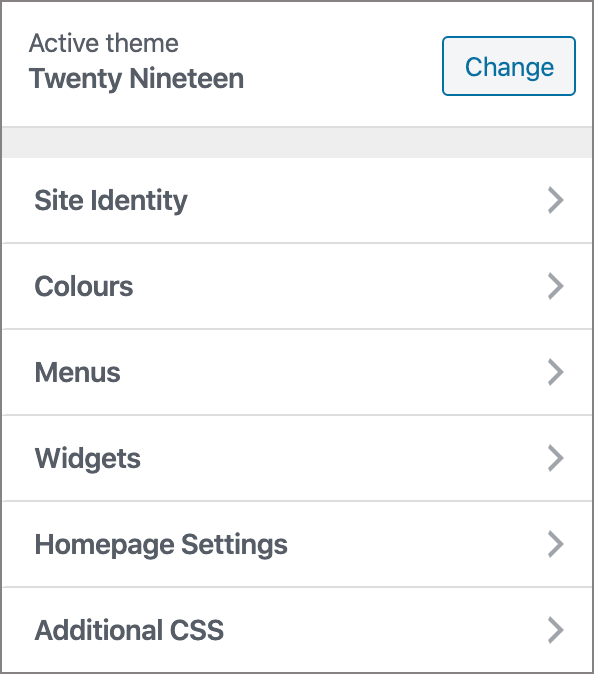
Let’s have a look at the basic functionality included in all theme customizers:
Access the Customizer
-
- Log in to your WP-admin control panel
- Find the customizer by clicking on either:
- The big blue Customise Your Site button on the Dashboard screen, or
- On the left menu under Appearance > Customise
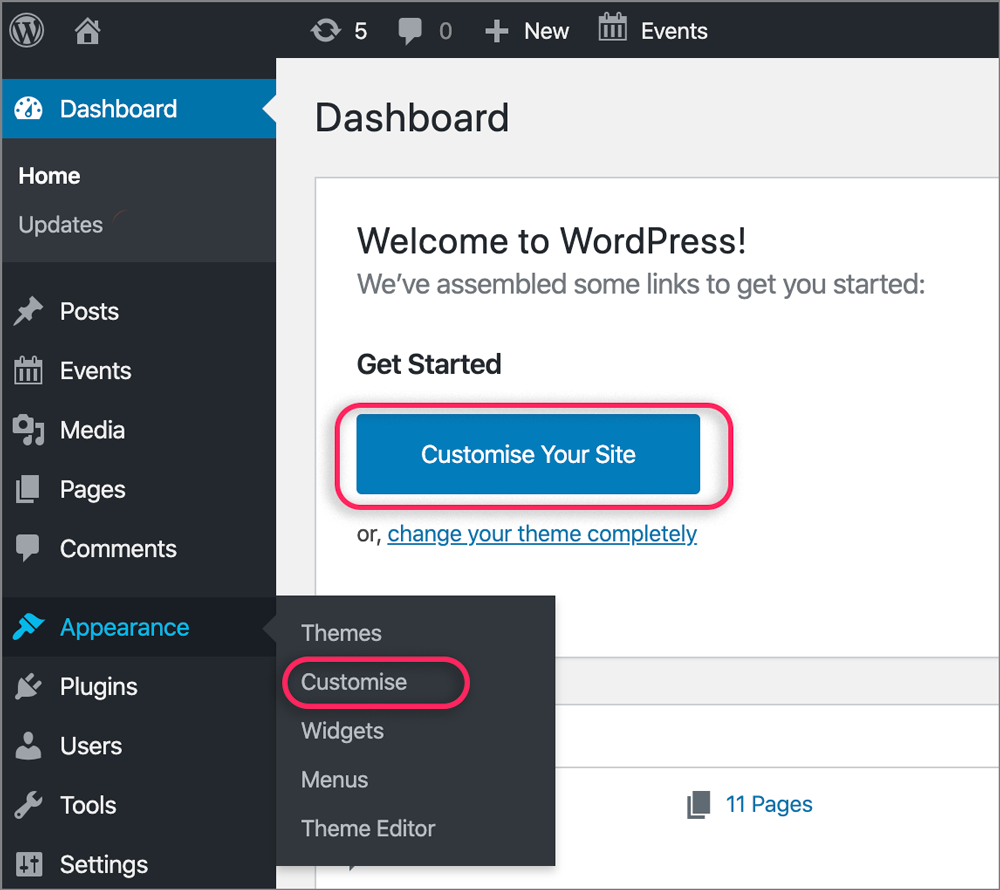
- The customizer opens as a tabbed grey menu on the left of the screen with each menu item opening up various options. On the right side of the screen you will see a live preview of the site. Any changes you make will be reflected immediately.
Using the Customizer
Edit each tab according to your needs and then click Publish.
Site Identity
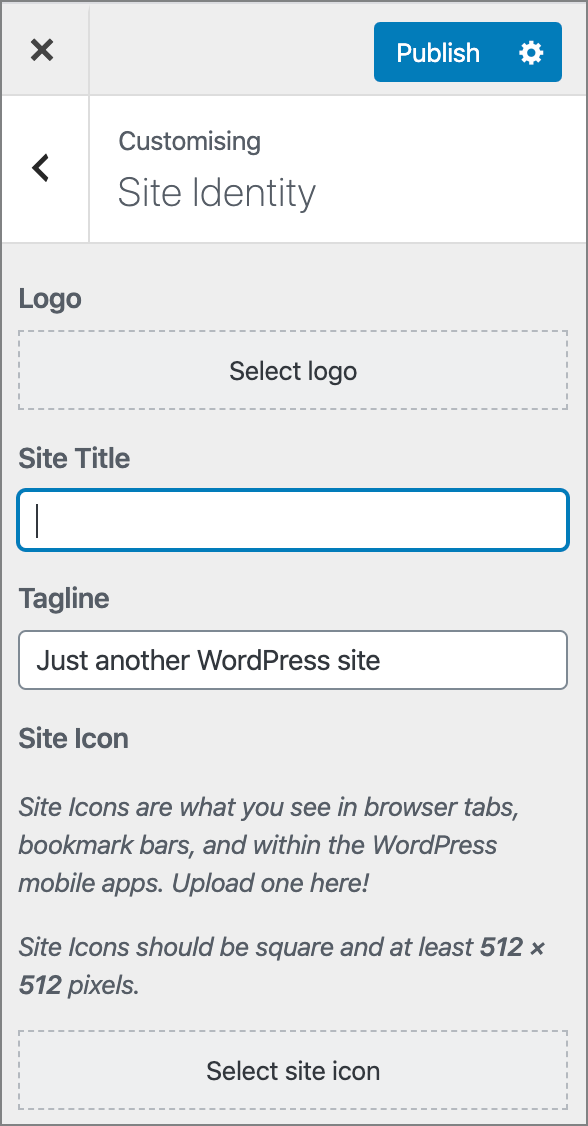
Logo
To set your logo on every page of your website (usually at top left), click Select logo and upload your business logo.
Site Title
Add the name of your website.
Tagline
(Optional) Delete “Just another WordPress site” and add a line describing your site.
Site Icon
This is the tiny icon that will appear on your site’s browser tab(s). Usually this is the business logo – or a part of it as the logo must be square.
![]()
Colours
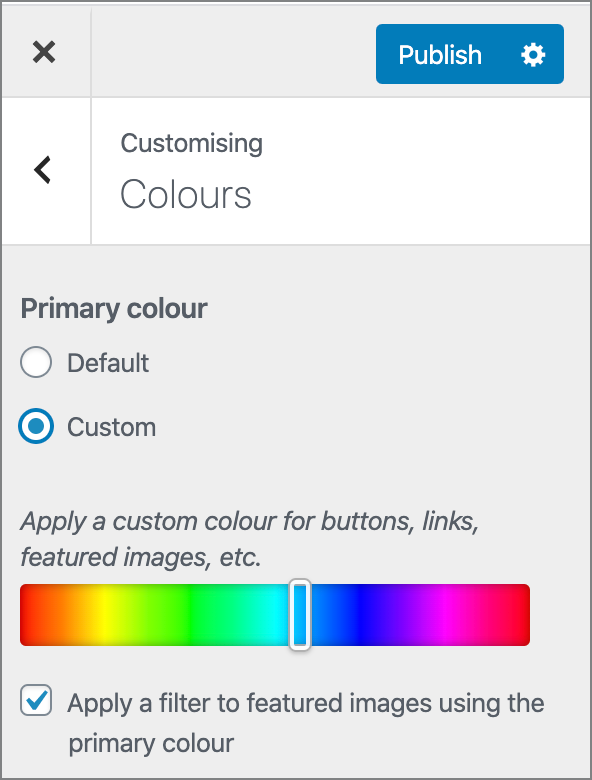
The Default setting is set according to the theme design, but you can override this setting sitewide by choosing Custom and selecting your own colour(s).
If you select the bottom filter option, then each of your featured images will get a transparent coloured overlay in your chosen colour.
Menus
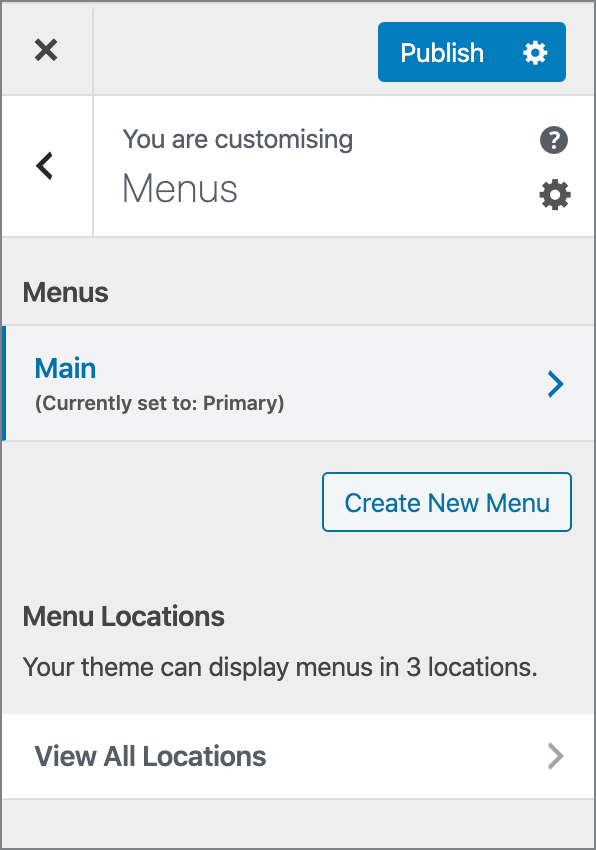
This is where you set where you want your menu to appear on your site as well as what pages should appear in that menu.
Widgets
Widgets are tiny blocks of specific functionality that you can place in your WordPress sidebars or footers (also known as widget-ready-areas). This is an easy way to add galleries, quotes, popular posts, Facebook like boxes and other dynamic items on your site.
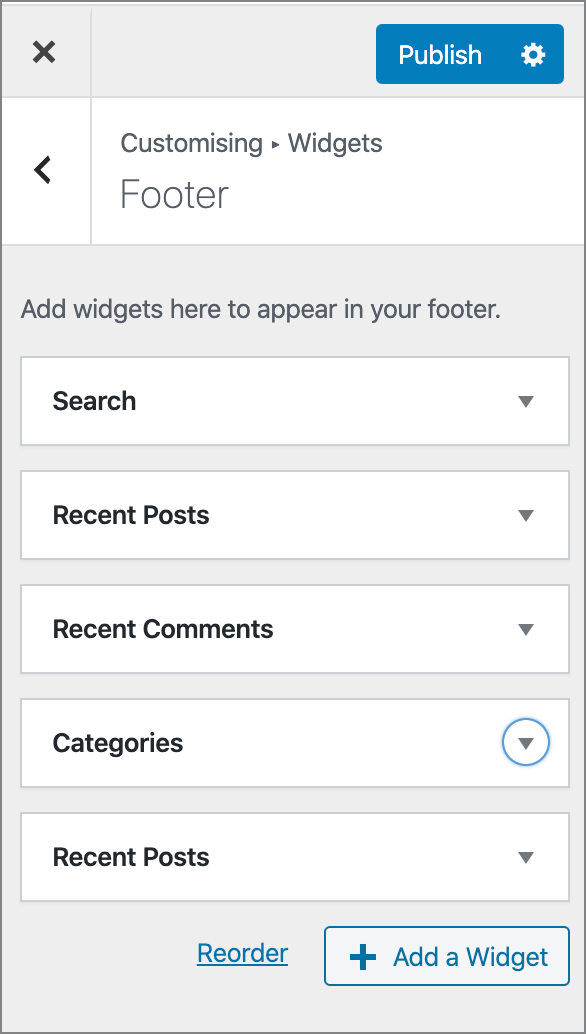
In the case above, all of these widgets would appear in the footer (the bottom of every page of your website). In most cases you will rather want to remove some of these widgets. Select each one that you don’t want and then click Delete.
For more see: How to add and use widgets in WordPress
Homepage Settings
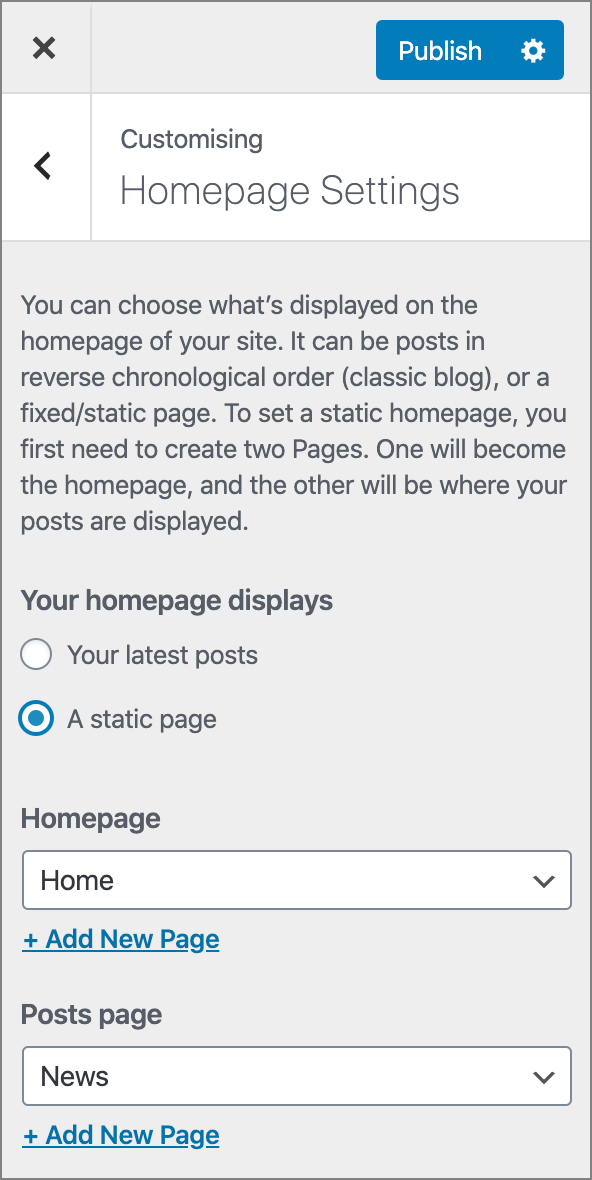
Choose if you want your website to open on a static page or if your website should open on the latest posts – typical of a blog.
Additional CSS
In most cases, this tab will be left empty, however it a powerful tool to override theme settings by using specific code. If you want specific functionality that isn’t provided by your theme, you could contact your theme provider and they may provide you with a short piece of code to paste into this field.
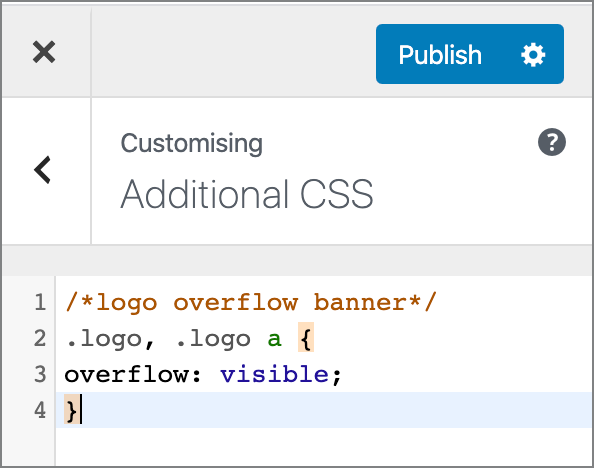
As an example, the CSS above allows the site logo to overflow from the header area onto the image below.

