Navigation is an essential part of your website. Helping visitors explore your content easily can increase your conversion rate. But what do you do if you have a lot of pages on your site? You may find it difficult to simplify the browsing process for your visitors.
This is where menus come in handy. By organising your content into easily-accessible categories, you’ll make your site more navigable and improve the User Experience (UX) considerably.
How menus work (and when to use them)
Almost every website has a menu. This element makes it easy to find and access different pages.
Typically, the main items in a menu direct users to the most important content on the site, such as the home page, blog, shop, and contact page. You can also add sub-items, known as “child pages”, underneath your main items (or “parent pages”).
Navigation menus are particularly useful if you have a lot of pages on your site. Whether you run a business blog or sell products in an online store, presenting your content using simple, easy-to-use menus helps visitors find what they’re looking for quickly.
How to customise your menu in WordPress
If you have a WordPress website, you probably already know that this Content Management System (CMS) comes with a default menu. However, it’s important to optimise your site’s navigation to suit your site.
There are a few ways you can customise your menus in WordPress.
Choosing the right location
To access your menu, you need to navigate to Appearance > Menus in your WordPress dashboard. There you’ll find the option to select an existing menu or create a new one:
The location of your menu can impact how accessible your content is. We recommend placing it in a prominent and fixed location, such as your site’s header. That way, users will be able to locate your menu right away, and access your content from every page on your site.
Depending on which WordPress theme you’re using, you can usually choose where your menu will display. If you click on the Manage Locations tab, you’ll see your options:
The Primary menu is typically located near the top of your site. Therefore, we recommend that you select this location for your main menu.
Meanwhile, the Secondary menu can appear in other areas, depending on your site’s theme and design (for example, your footer or sidebar). This can be an ideal placement for less-important menus, or those that will only appear on certain pages.
Renaming and deleting menu items
Managing menu items is very easy. Once you select the menu you want to edit, you’ll see a list of pages under Menu structure:
If you want to rename an item, select the corresponding arrow and enter the new name in the Navigation Label field:
To delete a page from the menu, simply click Remove:
If you want to remove multiple pages from your menu, check the Bulk Select option, then choose the pages and click on Remove Selected Items. When you’re happy with your changes, hit Save Menu.
Linking to blog posts, categories, and tags
If you run a blog, you can link to your posts, categories, and tags in your main menu. For example, let’s say you want to add a category page. From the Add menu items list, select Categories:
To find a category, click on the View All option. Then select your category and choose Add to Menu.
You can also add posts and tags by selecting the respective items. If you can’t see an option for adding tags, click on the Screen Options button in the top-right corner of the page, and check the box labeled Tags:
Here’s what our menu looks like after adding categories, tags, and posts to it:
Meanwhile, here’s a preview of the menu on the front end of our test site:
Remember to click on Save Menu when you’re happy with how your menu appears.
Customise your WordPress menus today
Navigation menus help users find their way around your website and interact with your content. If you have a WordPress site, you have access to several options for customising your default menu.
Every entrepreneur is unique, and your website should reflect that – from the theme you choose to the menus in that theme. The end goal is to make your website as user-friendly as possible.
For more helpful advice on getting the best out of WordPress, visit our Help Centre.
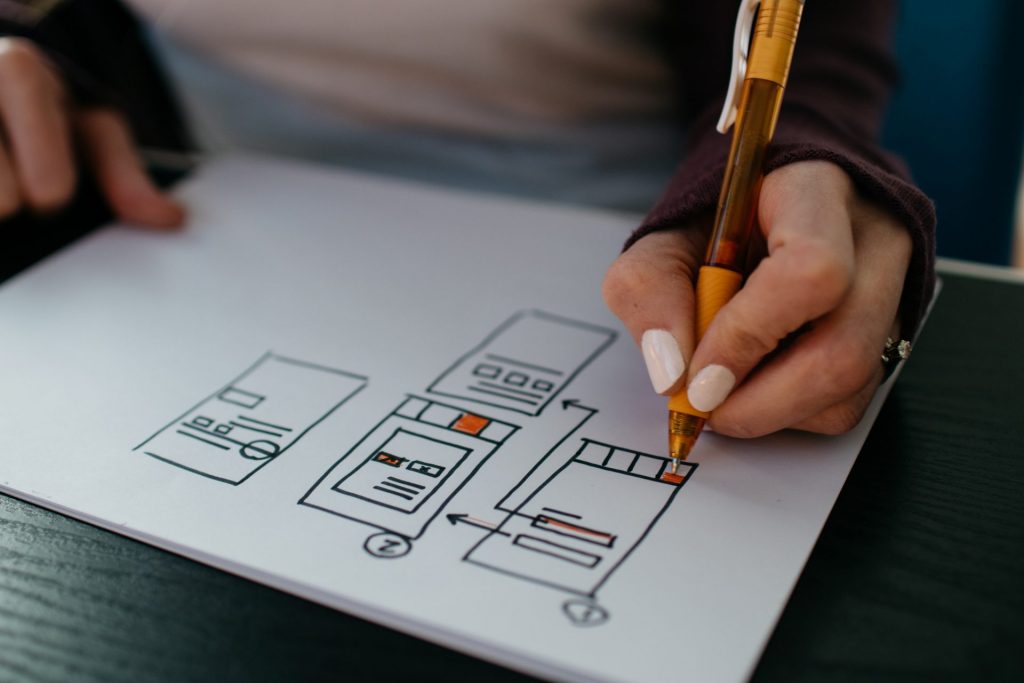
Image credit: Kelly Sikkema.


