


Connect to cloud instances (via SSH)
This article explains how to connect to your cloud instance using SSH (Secure Shell) as the default user.
Once connected, you can start configuring your server and installing applications.
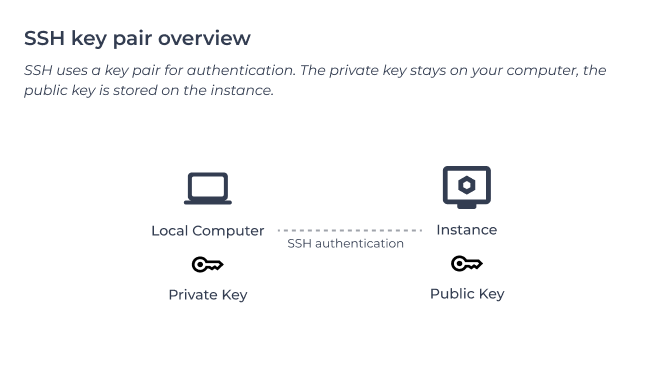
To connect via SSH, you will need:
- Instance public IP address
- Default instance username
- SSH private key
-
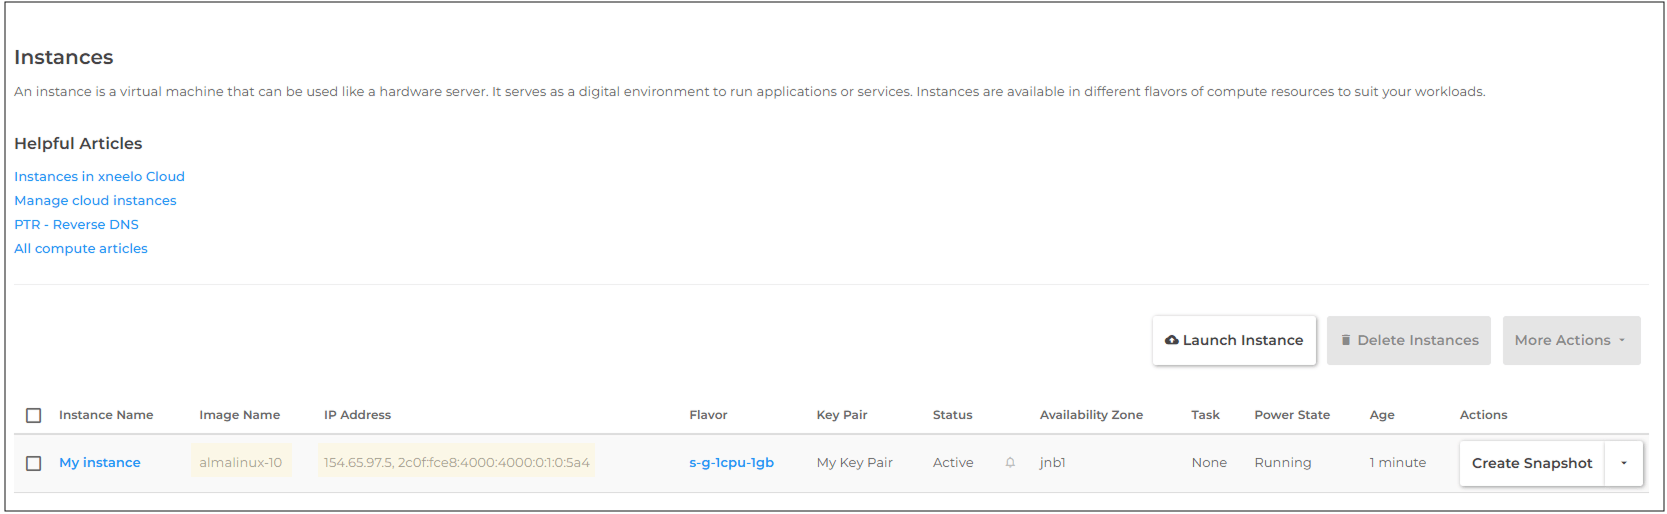
Step 1: Find your instance details
You will need specific details on the instance in order to connect to it:
- Image Name (to determine the default username)
- Public IP address (IPv4 or IPv6)
Steps
-
1Navigate to Compute → Instances
-
2Locate your instance in the table.
-
3Find the Image Name.
-
4Find the public IP address.

Note: Please check that your ISP supports IPv6. Some Internet Services Providers (ISPs) are not IPv6 enabled, and cannot route this traffic. You will need to use the IPv4 address instead.
Once you’ve connected to your instance, you can start setting up your server and:
If you cannot connect, see: Troubleshoot cloud instance connection


