Force HTTPS using a .htaccess file via the xneelo Control Panel
If you are still using konsoleH, refer to this article.
While your website already has an SSL certificate, it might still be loading using HTTP (insecure) instead of HTTPS (secure).
This guide will walk you through updating your .htaccess file to force all traffic to use HTTPS, ensuring your site always loads securely.
For WordPress sites, follow this guide to ensure your website always loads over HTTPS.
Note: New hosting packages and Sitebuilder sites may not have a default .htaccess file, but this can easily be created via your Control Panel.
What code should be added?
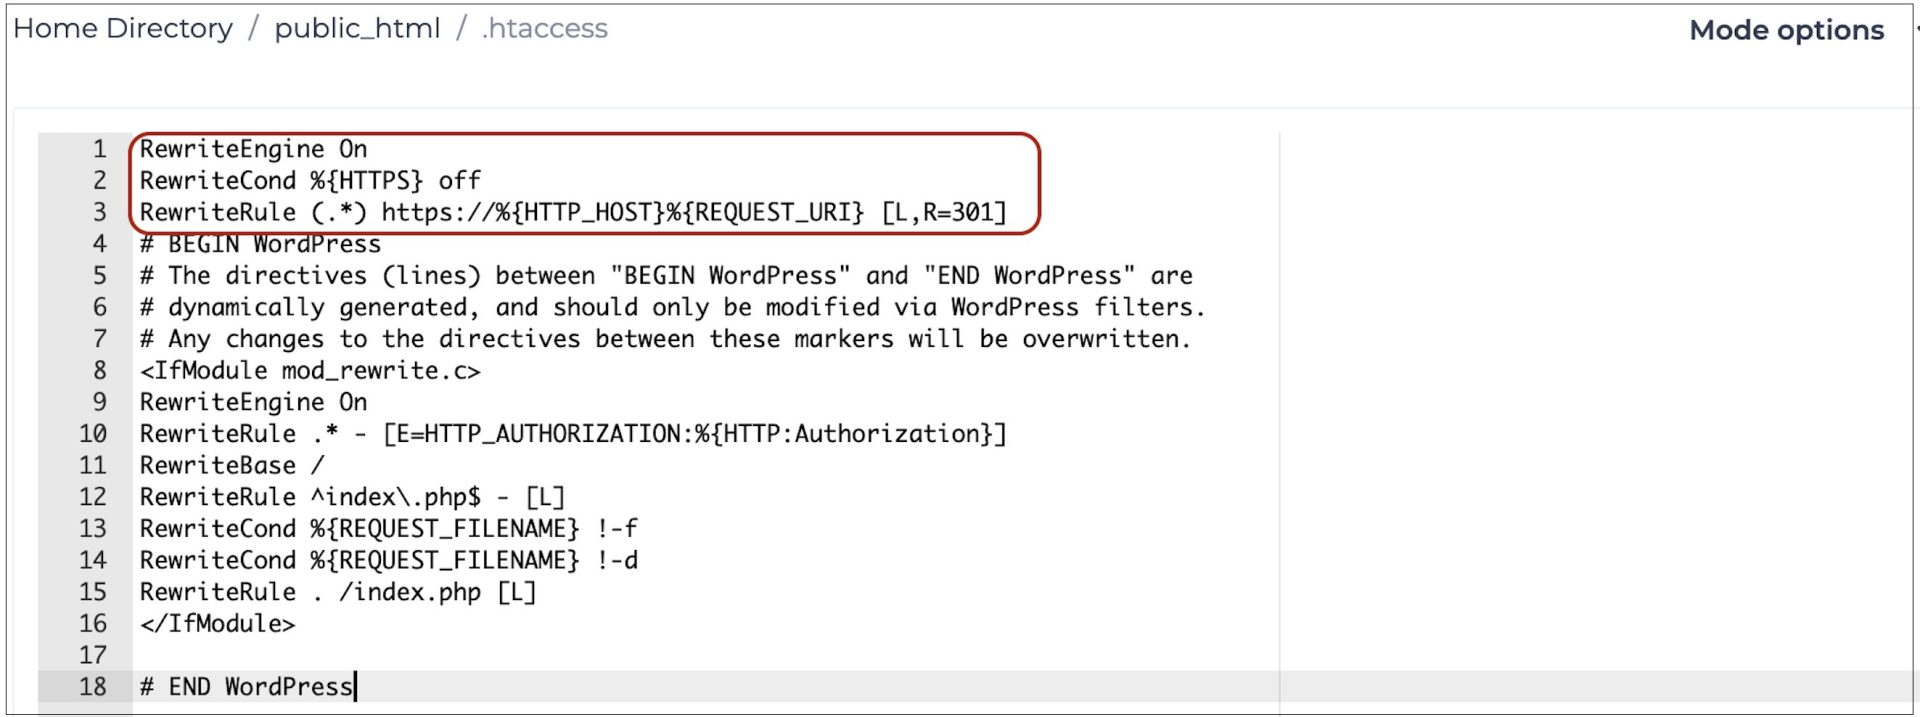
All web traffic can be forced to use HTTPS by inserting code into an .htaccess file within the public_html folder of the domain in question. The following snippet of code should be added above any other rules with a similar starting prefix:
RewriteEngine On
RewriteCond %{HTTPS} off
RewriteRule (.*) https://%{HTTP_HOST}%{REQUEST_URI} [L,R=301]
For Sitebuilder websites, the ‘.cm4all’ directory needs to be excluded so the following code is suggested:
RewriteEngine on
RewriteCond %{REQUEST_URI} !^/.cm4all/
RewriteCond %{HTTPS} off
RewriteRule (.*) https://%{HTTP_HOST}%{REQUEST_URI}
If you would like to exclude any subdomains from serving content from HTTPS, you can insert the following code (replacing “subdomain” and “example.com” with your domain details):
RewriteCond %{REQUEST_URI} !/subdomain.example.com$
How to insert code in the .htaccess file using the File Manager
-
1
-
2Select a Product (e.g Web Hosting) from the side menu.
-
3Select or search for the specific domain name.
-
4Under Hosting tools, select File Manager.
-
5Look for an .htaccess file. If there isn’t one, create one by selecting the Create button and then Create file.
Note: If the .htaccess file does exist, please proceed to step 7.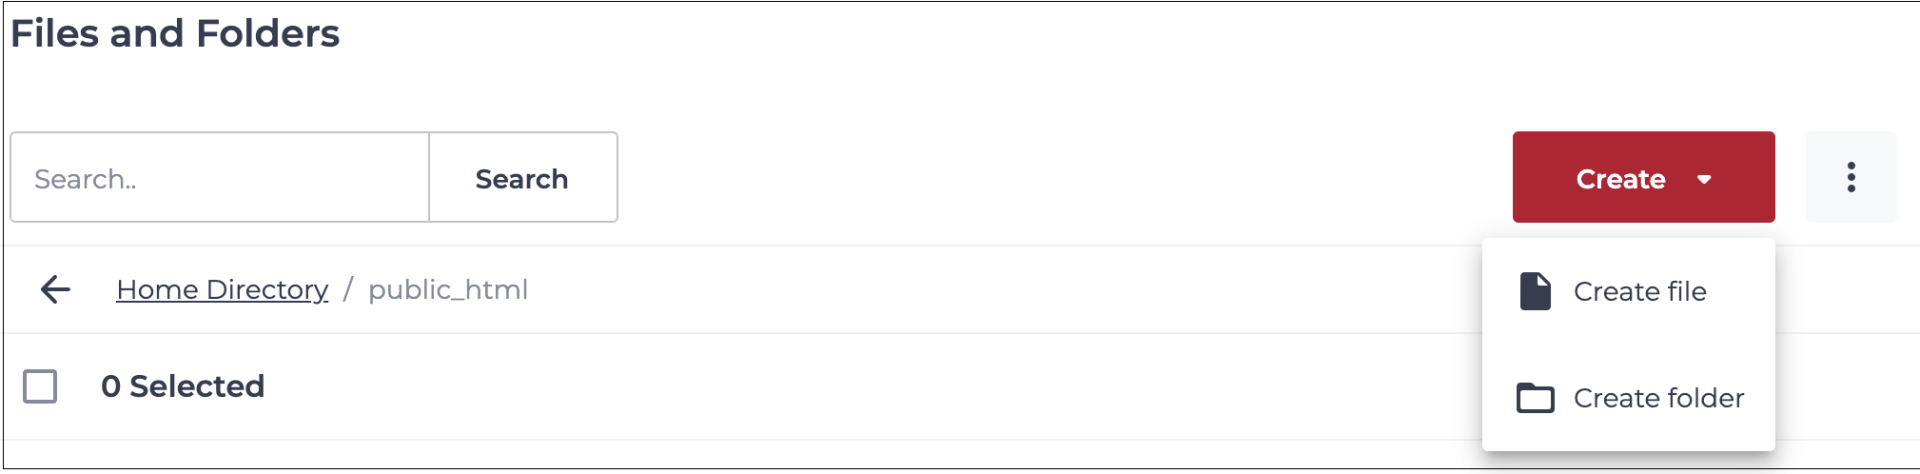
-
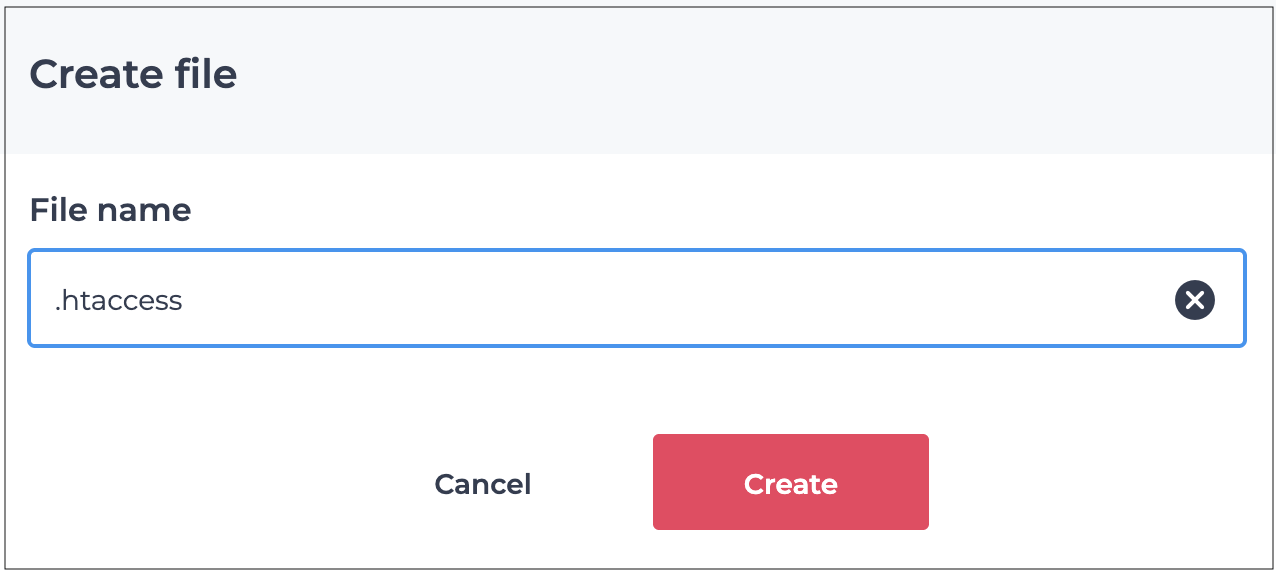
6Name the file .htaccess and click Create.

-
7Click on the 3 dots menu to the right of the .htaccess file and select File Editor.
-
8Copy the code detailed higher up in this article, and paste it above other code that is already there.

-
9Click Save.