
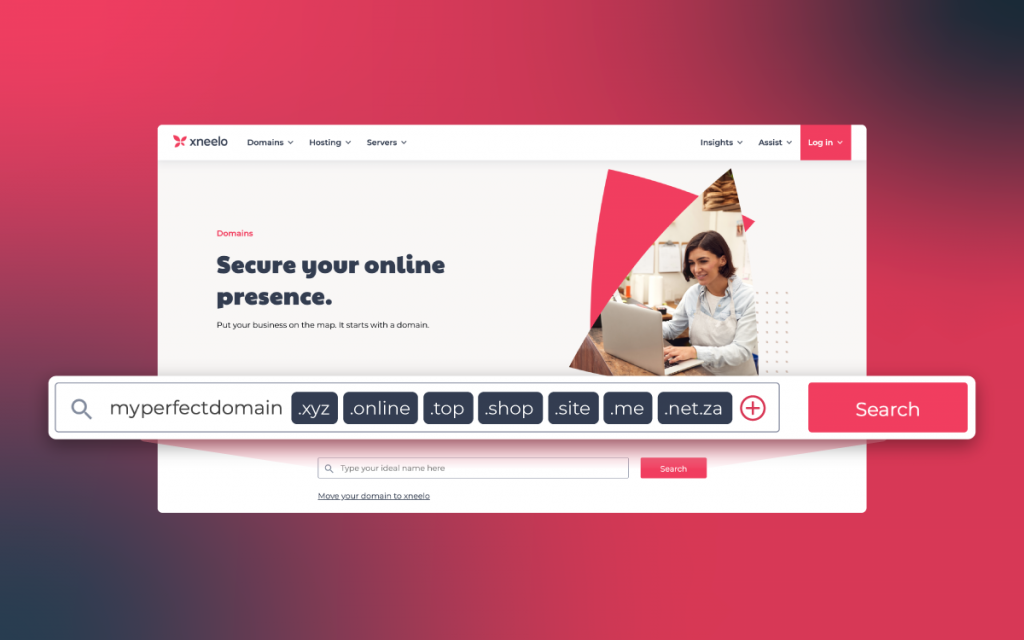


How to set up your first Managed WordPress website
Order your Managed WordPress hosting package and set up your website using a Starter Site or your own theme, via the xneelo Control Panel.
Steps
-
1Log in to the xneelo Control Panel.
-
2In the side menu, click on + Add products. You’ll be directed to Our Offerings.Note: New customers will be directed to Our Offerings directly.
-
3On the Our Offerings page, select Add under Managed WordPress.
-
4Click Get Started.
-
5To start, you need to give your WordPress website a title. You also need to set your WordPress admin username and email address. For security reasons, the username ‘admin’ or ‘administrator’ is not allowed. Your website title will also be used to help identify the specific instance of Managed WordPress with xneelo. You can change your website title or WordPress admin email address at any time, but your WordPress admin username cannot be changed. TIP: Update your user profile and assign yourself a nickname. That way, your nickname will be displayed publicly on your website instead of your username.
-
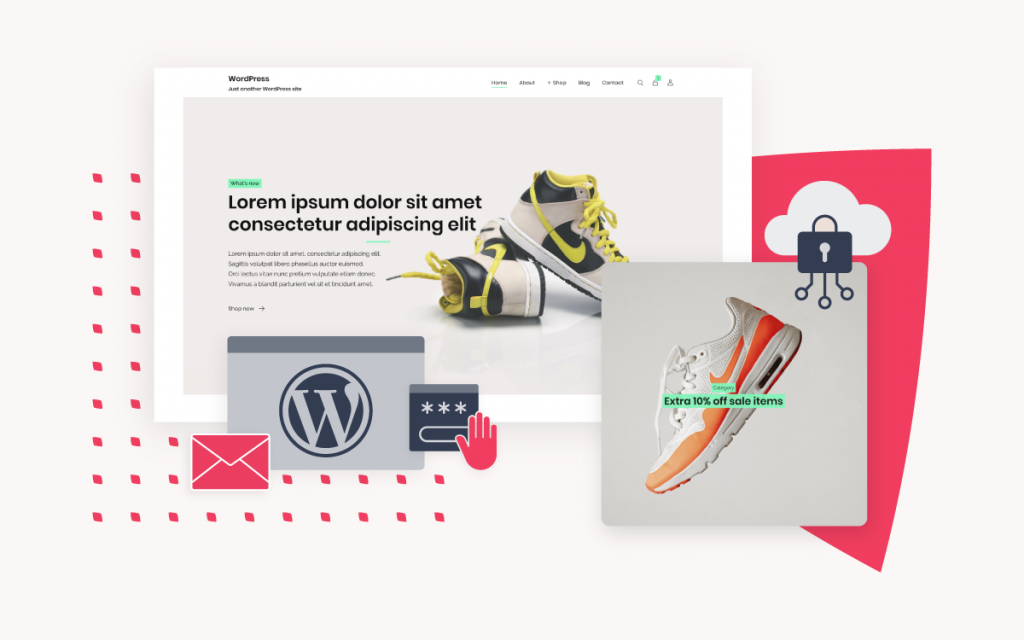
6Xneelo offers Starter Sites that can be used to help you build your website.Each of our Starter Sites is built using Gutenberg content blocks and our custom theme framework.To view the Starter Site in a new tab, click Preview Website. Once you have made your decision, click Select. If you are using your own theme, click Skip & Install.
-
7More information about each Starter Site is available on this screen, including a list of the plugins that will be installed and the option to install demo content with your Starter Site. Demo content includes a collection of royalty-free images and sample pages to help you build your website.TIP: When building a website, it’s best to use your own photos and content. This will ensure your website is unique and personalised.Click Install now.
-
8During the installation process, a progress bar and helpful hints and tips will be displayed.
-
9The Managed WordPress overview page will load when the installation process is completed. This page provides you with information and tools to administer your website. You can refer back to this page at any time by logging in to the xneelo Control Panel. Each Managed WordPress website is set up using a temporary xneelosites.com domain. To attach your own domain, you need to upgrade to a paid account. Click the red Edit in WordPress button to log in to WordPress. If this is the first time you’re logging in, you’ll need to create a password. To view your website, click the Preview website button.
-
10The first time you log into WordPress, you will see the xneelo dashboard. The Get started section includes links to help you start editing and customising your website. To start customising your website, click the red Start now button.
-
11The Customiser allows you to preview changes to your site before publishing them. After customising your website, click the Publish button to save your changes and publish them to your website.
-
12To close the customiser and return to the WordPress dashboard, click the X at the top left of the page.
What happens next
Your website is now set up.
Upgrade your Managed WordPress trial to a paid Managed WordPress hosting package when you are ready.

