




Get started with xneelo Cloud
Welcome to xneelo Cloud – a platform to build your own cloud environments. With flexible, hourly pricing, you can create virtual servers, storage and networks to power your projects.
This guide will help you get started and understand how everything fits together.
-
Understand the basics
Xneelo Cloud is an Infrastructure-as-a-Service (IaaS) platform. You can build and manage virtual infrastructure directly from your Cloud dashboard.
Our Cloud infrastructure includes:
- Instances – virtual servers that run your workloads
- Volumes – storage attached to your instances
- Networks – public or private connectivity between resources
- Security groups – rules that control network traffic to and from your instances
View the full list of features available in xneelo Cloud.
-
What can I use xneelo Cloud for?
Xneelo Cloud supports both simple and complex environments.
You can use xneelo Cloud for a variety of self-managed workloads, including:
- Websites and web applications
- APIs and backend services
- Databases
- Development, testing, staging and production environments
- Distributed systems
- WordPress, Node.js, Next.js and other application frameworks
- Custom applications and business systems
Xneelo Cloud is self-managed, giving you full control of your virtual infrastructure. You are responsible for managing the software, applications and data running within your Cloud environment.
Not sure whether xneelo Cloud suits your workload? Ask AI or contact Support.
-
Create your first project
After signing up and activating your account, create a Cloud project in the xneelo Control Panel.
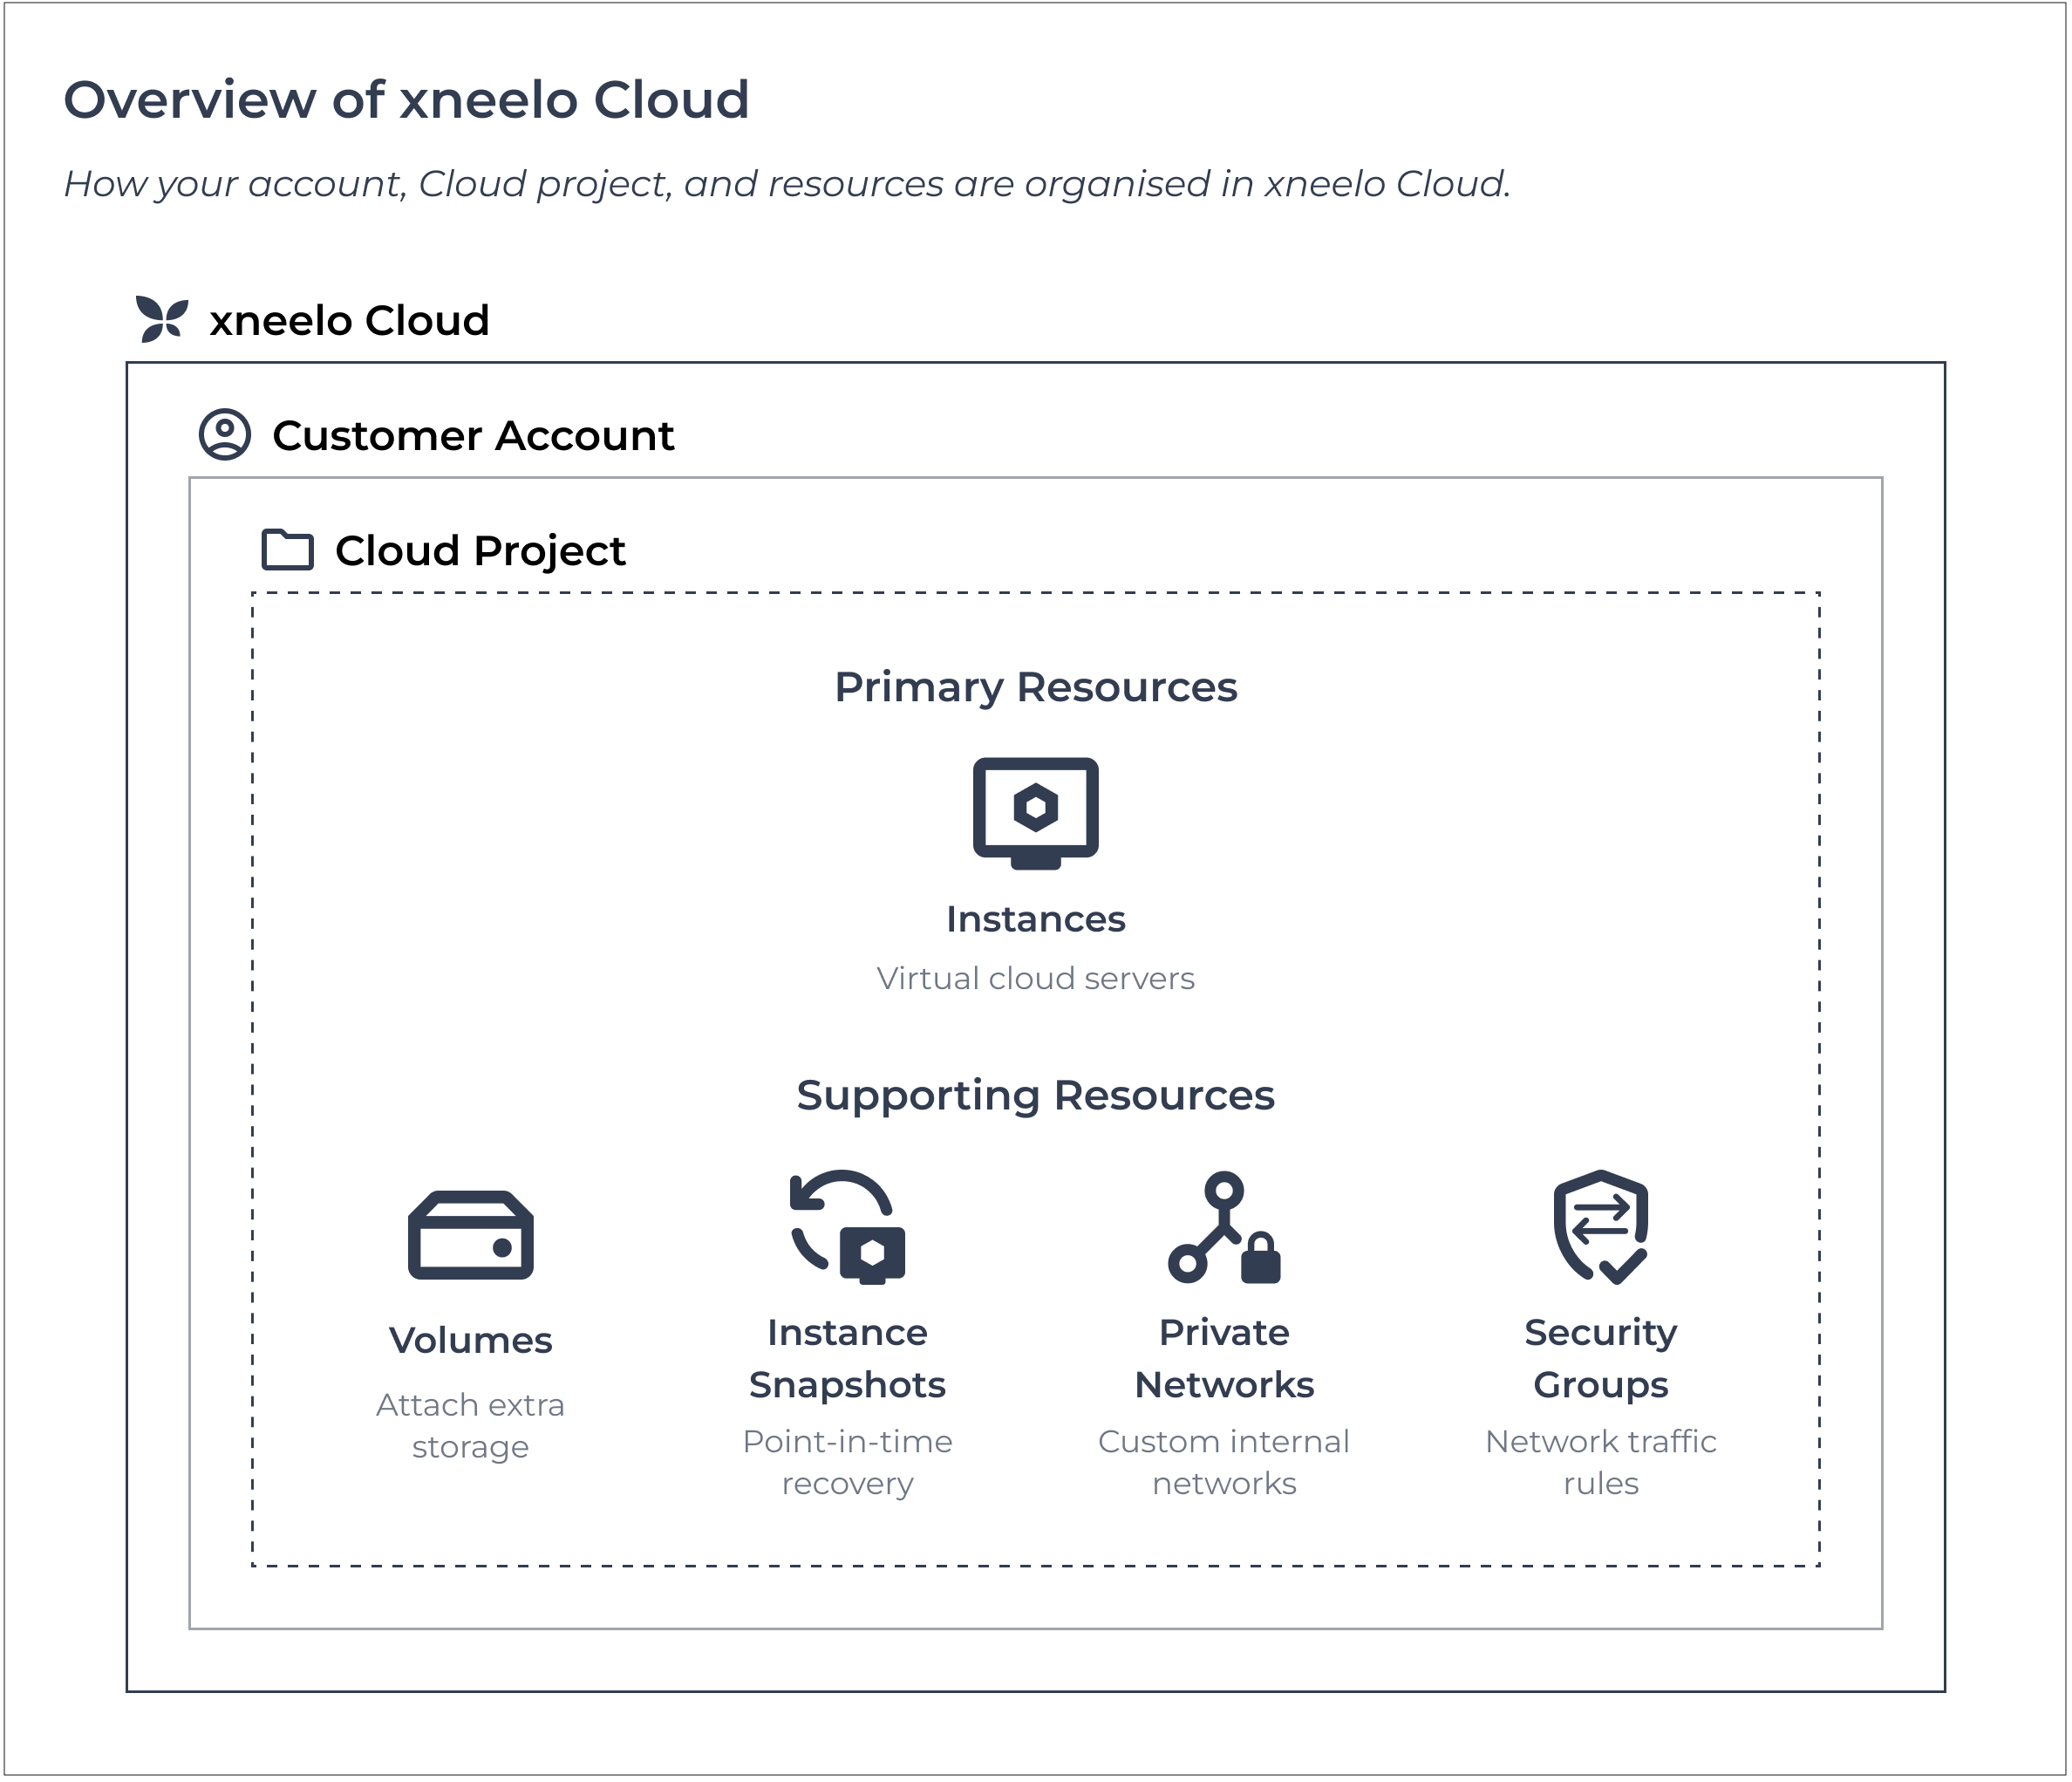
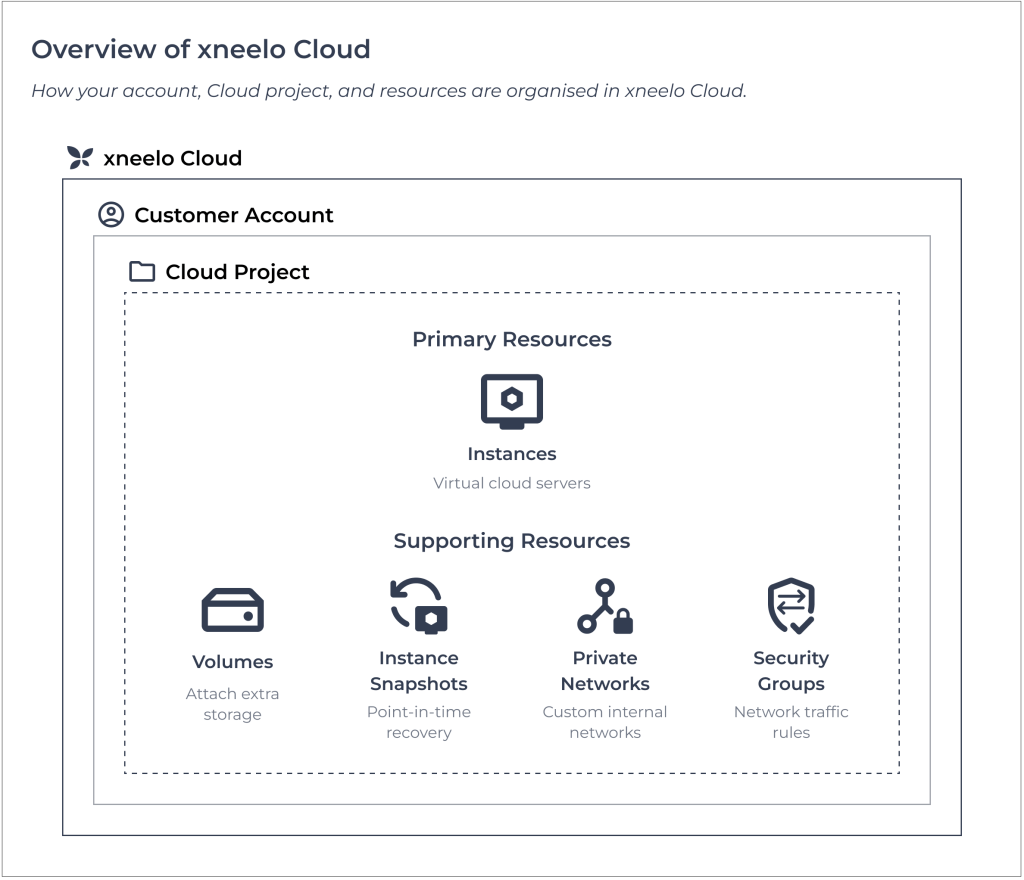
A Cloud project is the workspace that contains your Cloud resources. Launch the Cloud dashboard to start building your environment.
You’ll start by creating your first instance (primary resource), and then add supporting resources as needed.
-
Create your first instance
An instance is a virtual server that provides compute resources for your workload.
Follow the guide to create a Cloud instance.
After creating your instance, you can:
- Check security groups: Allow the traffic your instance needs
- Connect to your instance: Use SSH or RDP for Windows
- Access the console: Log in through the Cloud dashboard, if you set a password
- Attach a volume: Add extra storage to your instance
- Set up your server: Create users and install the software you need
You can find guides on all these steps in the Compute Help Centre.
-
Build your Cloud environment
After launching your first instance, you can expand your setup by adding more resources.
You’ll start with default project limits (resource quotas), but can request more as your Cloud environment grows.
Common additions include:
- Volumes – Additional storage for your instances
- Snapshots – Point-in-time copies for recovery
- Private networking – Custom network setups and traffic control
View the full list of features available in xneelo Cloud.
-
Pricing and billing
Xneelo Cloud uses pay-as-you-go pricing. You pay for the resources you create for as long as they exist.
Usage is billed monthly, and you can track your current charges in the Billing Overview in the xneelo Control Panel.
See more on our pricing:
-
Manage your Cloud
Xneelo Cloud is self-managed. Xneelo manages the underlying physical infrastructure, while you manage:
- Your instances and their configurations
- Operating systems, applications and data
- Software updates, monitoring and backups
- Network access and security
Keeping your Cloud secure is your responsibility. Misconfigured resources could expose your workloads to risk, and breach our Acceptable Use Policy.
-
Get support
Our Cloud Help Centre offers detailed step-by-step guides to help you self-manage your environment.
If you need additional help, our support team is available via Live Chat in the Control Panel.
What happens next
Xneelo Cloud is fast, flexible and ready for your projects.
Start by creating your first instance and explore what’s possible in your Cloud environment.