


How to use the quick WordPress AppInstaller via konsoleH
If you are using our new Control Panel, refer to this article.
Make the switch and discover a simpler, more secure way to manage your hosting.
WordPress is one of the most popular Content Management Systems (CMS) available for creating, publishing and managing websites. The open source software is completely free and a wealth of add-ons (both free and paid-for) are available.
WordPress’ flexibility makes it suitable for beginners to advanced developers. Design and manage a basic website yourself, or have your website professionally designed in WordPress and then manage small changes and updates yourself using the wysiwyg Admin interface.
This easy-to-use software includes:
- Multiple Themes and Plugins to customise your site.
- A built-in updater that can update your plugins and themes from within your WordPress dashboard.
- Tools for managing your files and documents
- A Widget tool to add multiple functions to your website or blog, such as:
- Content
- Adverts
- Social media sharing buttons
- Sliders
- Images
- Videos
- Forms
Many tutorials and videos are available to guide you in using this popular CMS.
Install WordPress quickly and easily with the WordPress AppInstaller, available in konsoleH for our WordPress Hosting packages – Basic, Standard, Advanced or Master accounts (WordPress requires a MySQL database).
Steps for Installing WordPress:
1. Browse to konsoleH and log in at Admin level
2. Select or search for the applicable domain name under Hosting Service
3. Click Software > Applications > WordPress on the left-hand menu
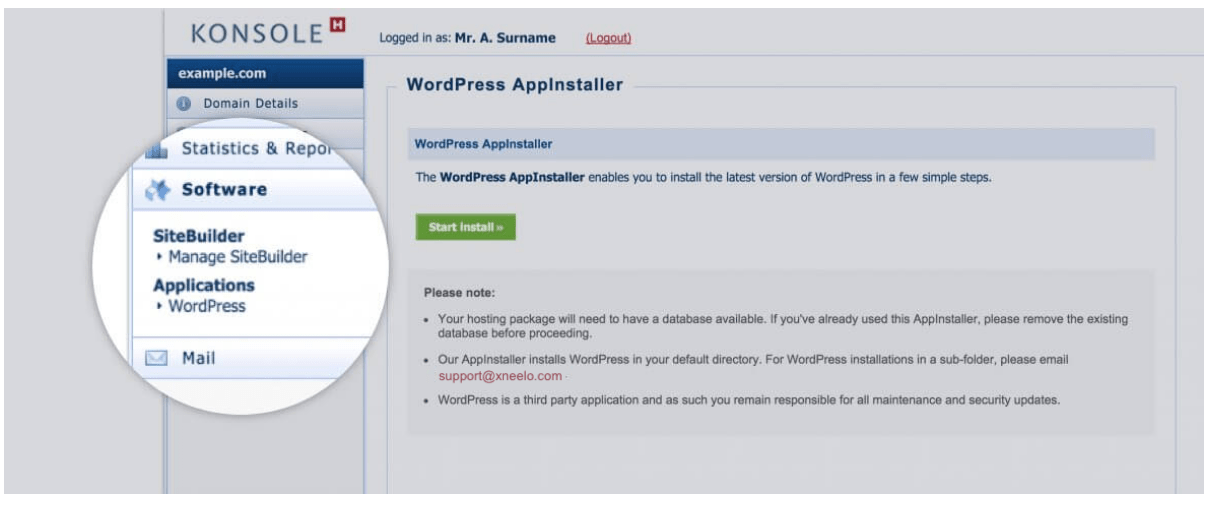
4. Click Start Install.
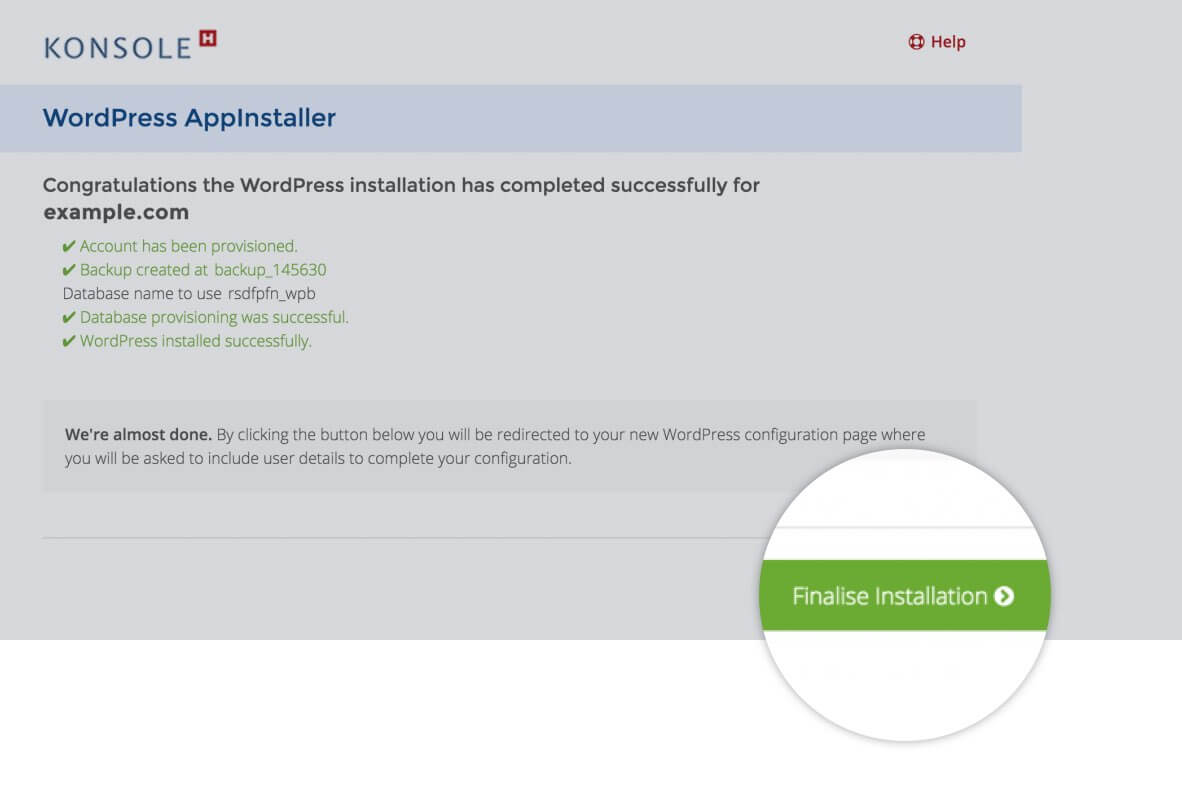
5. Select Finalise Installation.
6. Complete your configuration page and select Install WordPress

Congratulations, you have now successfully installed WordPress!
Browse to your domain name followed by /wp-admin (e.g. https://example.com/wp-admin) to log in to your new WordPress admin interface to start creating your new website.
Further reading:
- Point your xneelo domain to your WordPress site
- WordPress security
- WordPress support and tutorials
- Moving your WordPress site

