


Using CloudFlare
In order to route your web traffic through CloudFlare’s network, your domain’s name servers need to be changed to the CloudFlare name servers via your xneelo Control Panel.
Updating your domain to CloudFlare’s name servers gives them control of your domain’s DNS and DNS records will need to be pointed back to xneelo servers for our hosting and mail services.
Before making name server changes, ensure that you have successfully configured your DNS information to point to xneelo.
Please note:
- If you experience any errors or downtime on your website or email accounts both CloudFlare and xneelo are responsible to investigate and to resolve the issue.
- If the name servers are updated before the DNS records are pointed to xneelo, your mail services (incl. Webmail) will be disrupted.
- Xneelo will still remain responsible for the domain name administration and hosting and will continue to invoice you for the yearly domain renewal fee and hosting package.
Please note that DNS propagation for name servers updates may take anywhere from 24 – 72 hours.
Let’s Encrypt SSL/TLS: is it supported?
Yes. Websites that use Cloudflare or other DNS services now also have Let’s Encrypt SSL/TLS enabled automatically. SSL/TLS system updates since Feb 2017 allow even those xneelo domains with external DNS to benefit from our free SSL/TLS.
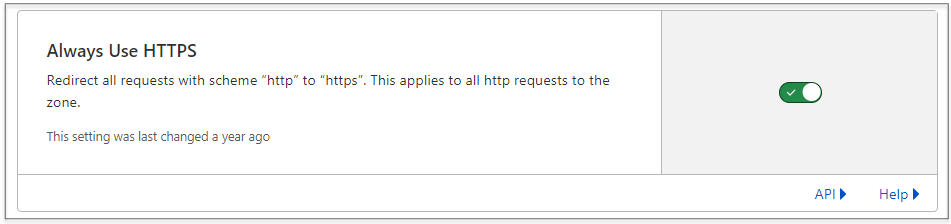
Caveat: ‘Always Use HTTPS’
To benefit from our TLS encryption-protected email, please ensure that Cloudflare’s ‘Always Use HTTPS’ is disabled in favour of including a .htaccess file in your website’s root directory.
How to do this:
-
Log into your Cloudflare Dashboard.
-
Navigate to the domain you wish to use.
-
Click on the SSL/TLS option, followed by ‘Edge Certificates’.
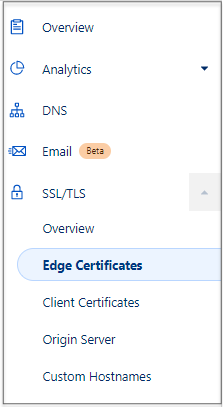
- Ensure that ‘Always Use HTTPS’ is set to ‘Off’.
- Upload a file called ‘.htaccess‘ to the base directory of your website with the following contents:
Additionally, to ensure the Let’s Encrypt Acme challenge is successful, you may whitelist the following URLs in your Cloudflare dashboard:
- http://domain.co.za/.well-known/*
- http://www.domain.co.za/.well-known/*
If you’re using Cloudflare for DNS, please be aware that enabling proxying on mail-related DNS records (like MX, mail.example.com, or webmail.example.com) can cause email delivery issues or downtime.
To ensure uninterrupted email service with xneelo:
- Only proxy your A records for @ and www
- Set all mail-related records to DNS-only (not proxied)
This setup lets you benefit from Cloudflare’s performance and security features while keeping your email working smoothly.

