


How to create a new email address via the xneelo Control Panel
If you are still using konsoleH, refer to this article.
New email addresses for your xneelo domain can be either mailboxes or mail aliases (redirects) and are created via the xneelo Control Panel.
Once created, mailboxes can be set up on your desktop or mobile device in the mail program of your choice, or accessed online via Webmail.
Choose a type of email address – mailbox or alias
-
How to add a new mailbox
A mailbox is an independent email address with full functionality. Mail is stored on the server (unless your mail program’s settings are not set up to do this). Stored mail adds to the disk space of the domain’s web hosting package. If a forwarder is added, mail will be delivered to both the mailbox and the forwarded address.
-
1
-
2Select a Product (e.g. Web Hosting) from the side menu.
-
3Select the specific domain name.
-
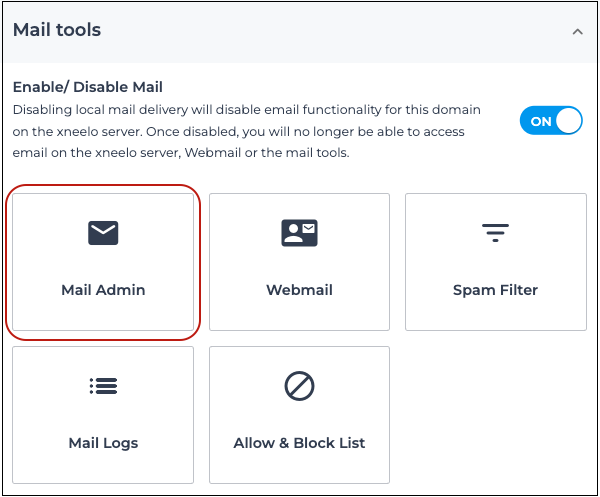
4Scroll down to Mail tools and select Mail Admin.
-
5Click + Add mailbox to continue.

-
6
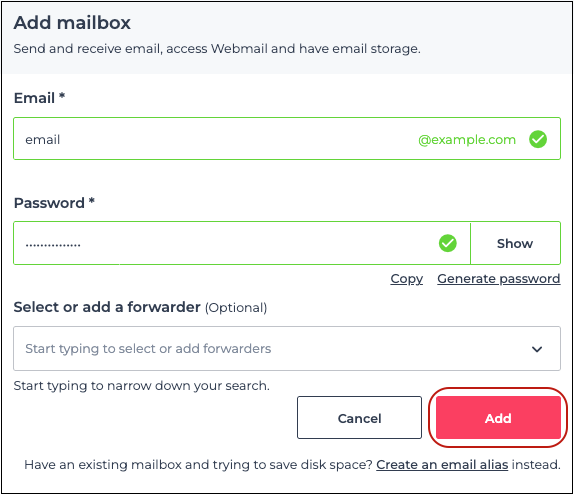
Add the new email address and your choice of password. Forwarders are optional.

-
7Select Add to confirm the mailbox creation.
-
8Upon successful creation, a page will present the new mailbox details.
-
9Click Close. Your new mailbox is now displayed on the Mail Admin page.
-

-
How to add an alias
An alias is an email address that redirects mail to another email address – either on the same domain or to an external address.
-
1
-
2Select a Product (e.g. Web Hosting) from the side menu.
-
3Select the specific domain name.
-
4Scroll down to Mail tools and select Mail Admin.

-
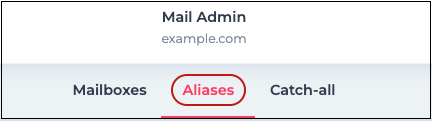
5Select the Aliases tab.

-
6Click + Add alias to continue.

-
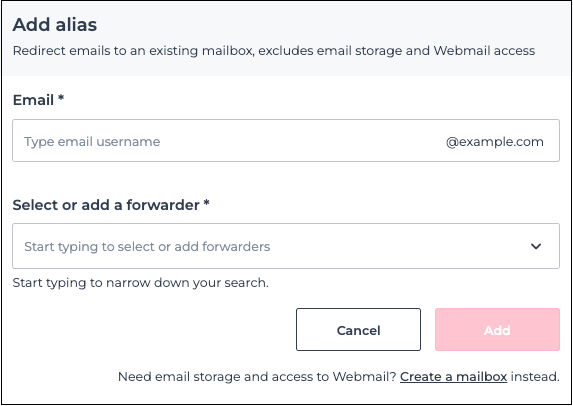
7Enter the new email address you would like to use in the Email field.

-
8Add the email address that you would like your mail directed to in the Forwarder field.
-
9The dropdown list will display all your mailboxes on the same domain:
- Click to select the mailbox you wish to use, or
- Insert your external email address and press Enter on your keyboard to confirm.
-
10Click Add.
-
11Your new alias is now displayed on the Mail Admin page under Aliases.

-

-
How to edit your email settings
You are able to make various changes to an existing mailbox.
-
1
-
2Select a Product (e.g. Web Hosting) from the side menu.
-
3Select the specific domain name.
-
4Scroll down to Mail tools and select Mail Admin.

-
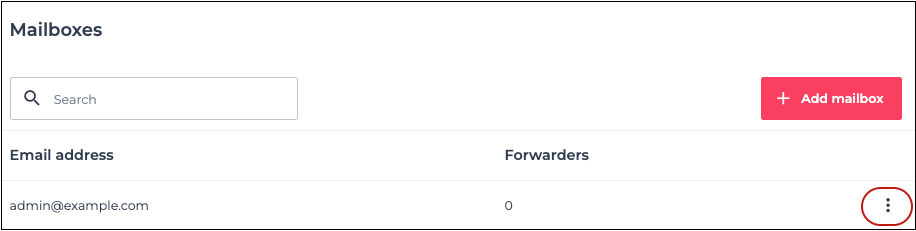
5Navigate to the 3 dots menu to the right of the mailbox you would like to edit:

- View your mailbox credentials – needed when setting up the email address on your mail program
- Reset your password
- Edit the autoresponders
- Disable your mailbox
- Set a limit for the maximum size of individual incoming emails that you wish to accept in the mailbox
- The catch-all mailbox is disabled by default. If you would like all stray emails addressed to non-existent usernames at your domain to be forwarded to a single mailbox, then add an email address in the Catch-all email field.
-
Now that the email account is created on the server, you need to set up your email program or client (eg. Microsoft Outlook, Mozilla Thunderbird) to connect to the server in order to send and receive your email. If you are in the process of transferring a domain to xneelo, we recommend that you set up your email accounts before transfer.
Forgotten passwords can’t be recovered, however, they can be reset in the Control Panel.


