


How to restore a backup of your site via konsoleH
The information in this article is related to konsoleH.
If you are using our new Control Panel, refer to this article.
Make the switch and discover a simpler, more secure way to manage your hosting.
If you are using our new Control Panel, refer to this article.
Make the switch and discover a simpler, more secure way to manage your hosting.
The konsoleH Restore Backup tool provides you with access to restore files and databases with ease. Backups are kept for up to 2 weeks with incremental backups processed daily.
Restore a backup of your site content:
- Browse to konsoleH and log in at (Admin or Domain level).

- Select or search for your domain name in the Hosting Service tab (Admin level login only)
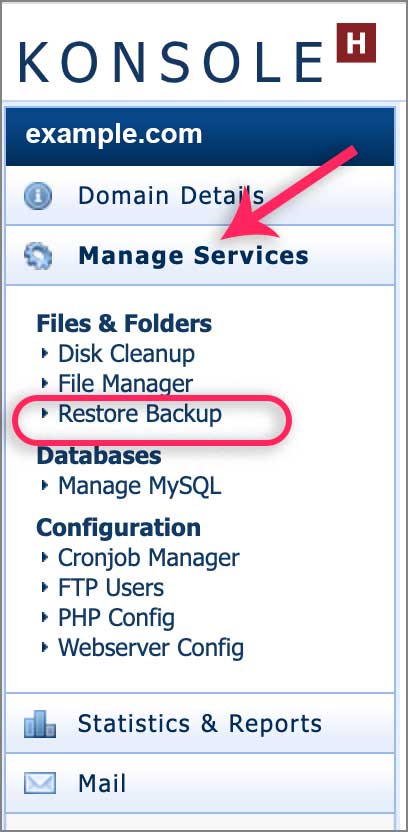
- Select Manage Services from the left-hand menu , then Restore Backup under Files & Folders
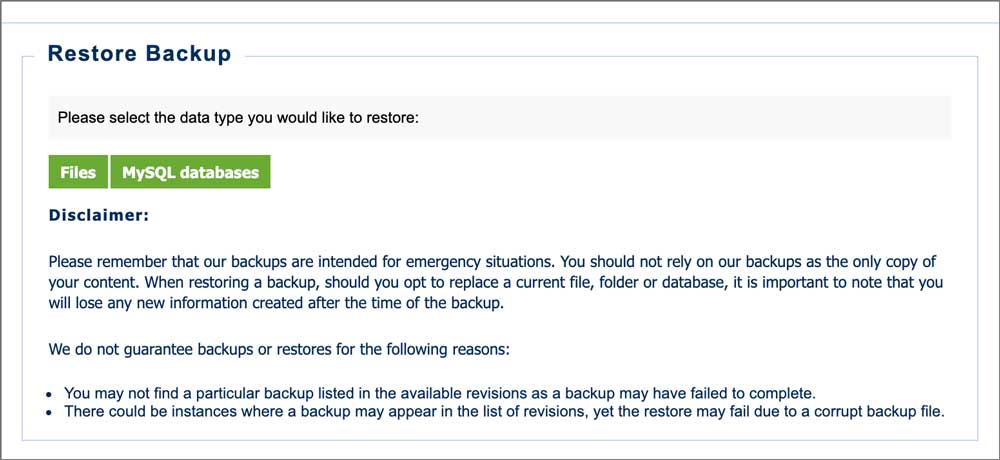
- Select Files or MySQL databases depending on your needs
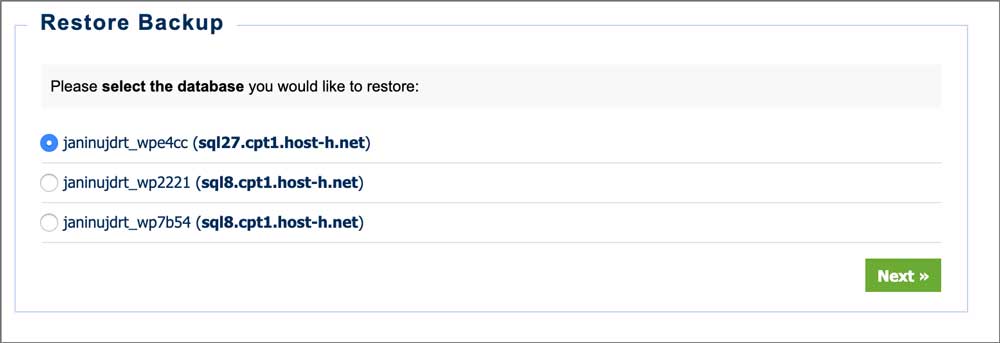
- If you are restoring a database, select the database you would like to restore, then click Next
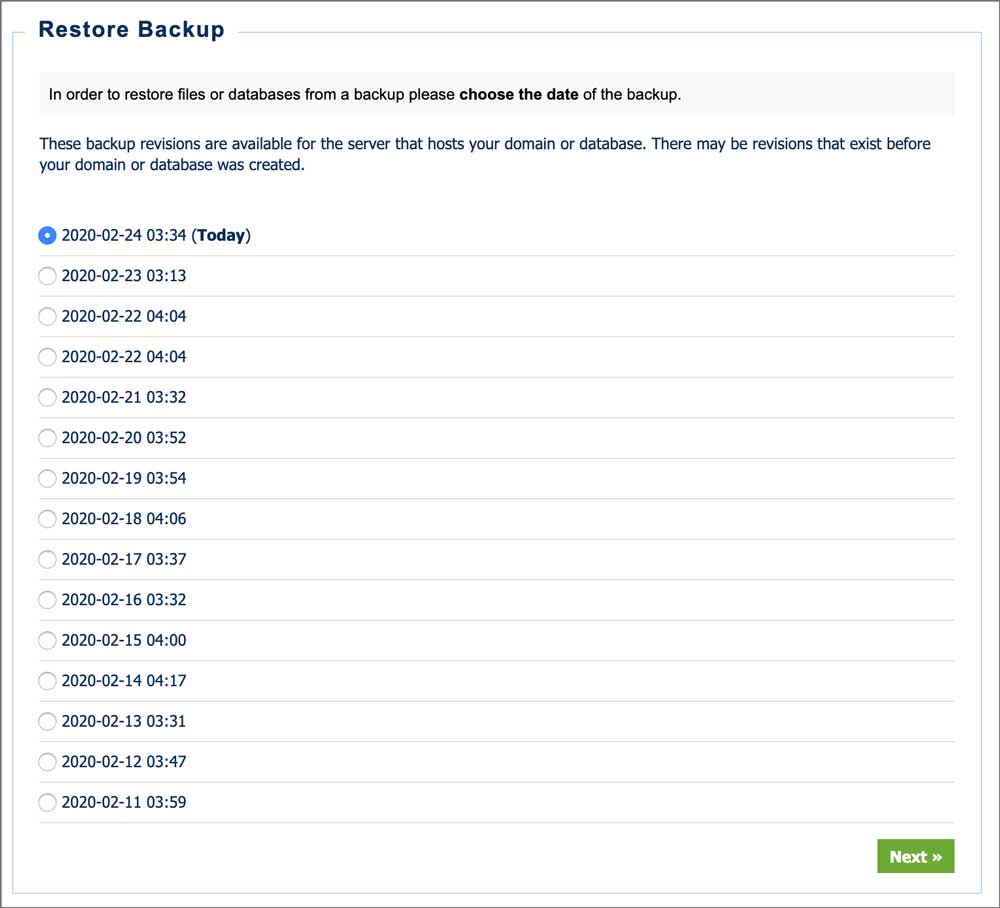
- Choose the date of the backup that you would like, then click Next
- If you are restoring files:
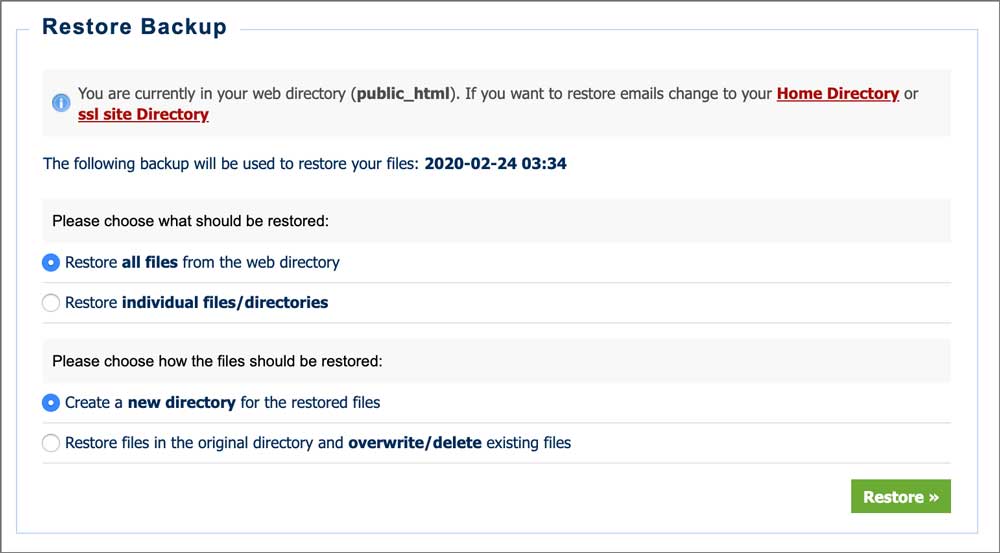
- Your web files are found in the public_html directory.
- Choose between Restore all files from the web directory or Restore individual files / directories.
- If you are restoring the entire website, you will restore all files from the public_html directory, as this is where all your web files are found.
- If selecting individual files, a search box will appear with a list of the files available to restore. Select one and continue to the next step.
- Choose how the files should be restored by selecting either Create a new directory for the restored files or Restore files in the original directory and overwrite/delete existing files.
-
- If you want to replace the current website with the backup i.e. take your website back to how it was on a previous date, then you can choose overwrite/delete existing files.
- If you don’t want to replace the website directly, but rather want to create a backup copy of the website, then select create a new directory. This won’t affect your current site. If you want to use that backup at a later stage, you will need to access the folder via FTP and transfer the files to your web directory.
- Click on Restore. The duration of the restore process is dependent on the file size. Remain on this page until the restore is complete
- Once the restore is complete a new message will appear on your screen with information regarding where the restored file(s) can be found.
Important to Note:
- xneelo backups are intended for emergency situations.
- You should not rely on our backups as the only copy of your content.
- When restoring a backup, should you opt to replace a current file, folder or database, you will lose any new information created after the time of the backup
- Keeping restored content in your folders will affect your disk usage, so we recommend removing additional files once you have completed the necessary updates (applicable where you have chosen to create a new directory for the backup).
- Should you want emails restored, please request assistance from our Support team via the Contact Us tab in your konsoleH control panel.

The new xneelo Control Panel is here
Experience a simpler, more secure way to manage your hosting. Most features are now live and ready for you. Switch now

